From Model Creation to Upscaling, Complete All-in-One Photo Shoot Workflow with Quel Suite
This case study covers an all-in-one photo shoot workflow that handles everything from model creation to photo shoot and upscaling with just Quel Suite.
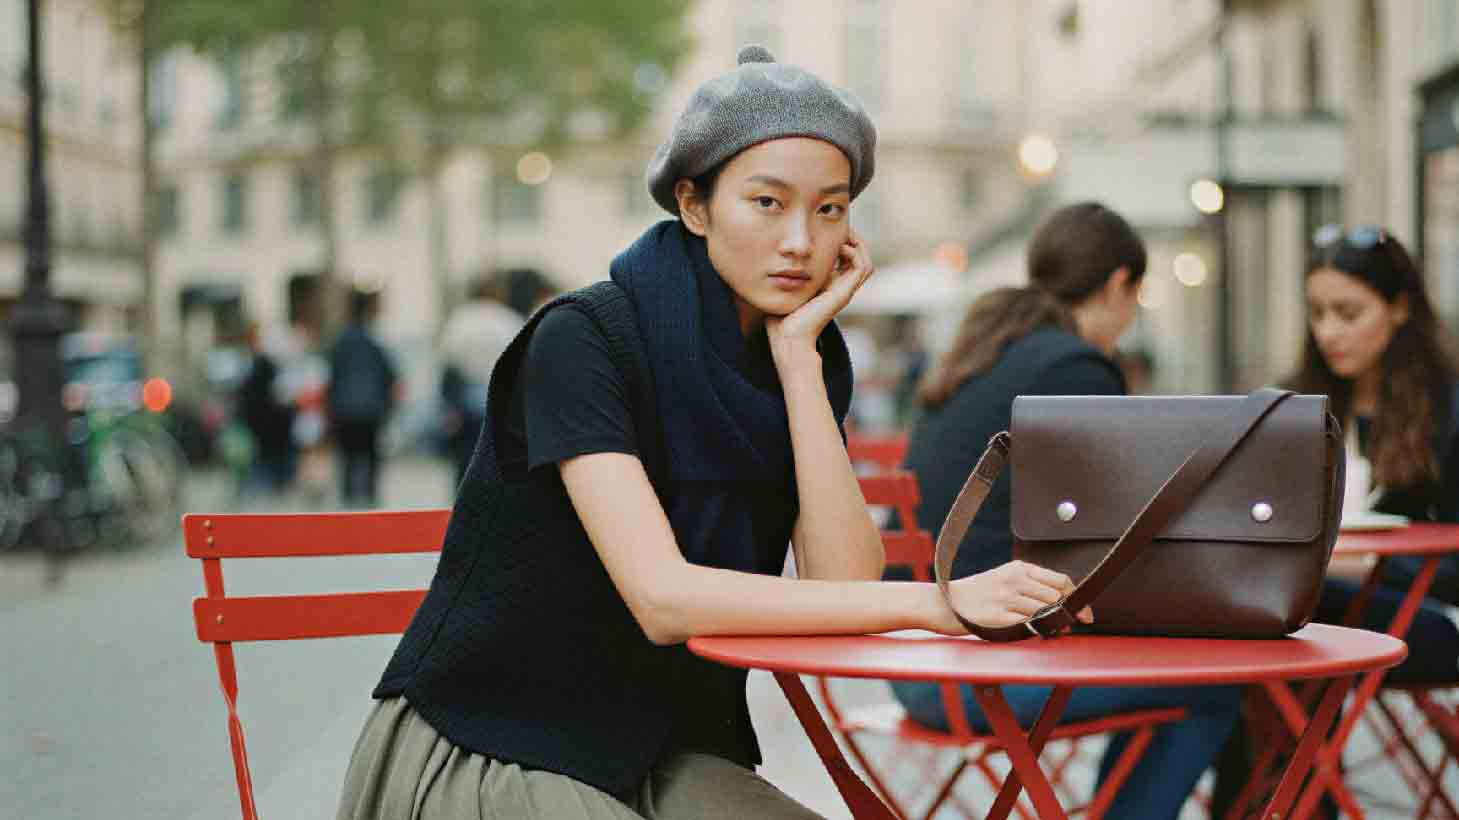
Complete All-in-One Photo Shoot Workflow with Quel Suite
Creating brand photo shoots typically involves multiple tools and processes from planning–creation–modification–retouching–high-resolution output, during which time and costs can quickly increase. Additionally, the quality of the final product is often determined by the proficiency of a few skilled individuals who can adeptly use specific AI tools or editing software.
This case study summarizes an example of simplifying this production structure by integrating the entire process from model creation to photo rendering, partial modification, color correction, and upscaling with just Quel Suite.
The key is to build a workflow that produces a large volume of results quickly and cost-effectively in a single environment, rather than performing repetitive tasks across multiple tools.
This workflow is particularly applicable even without professional AI operation experience.
By following the step-by-step guide, you can consistently achieve high-quality photo results suitable for commercial use without spending long hours learning complex settings.
The following process is organized based on the actual production flow, allowing anyone to replicate it as is.
Step 1. Template-Based Model Creation
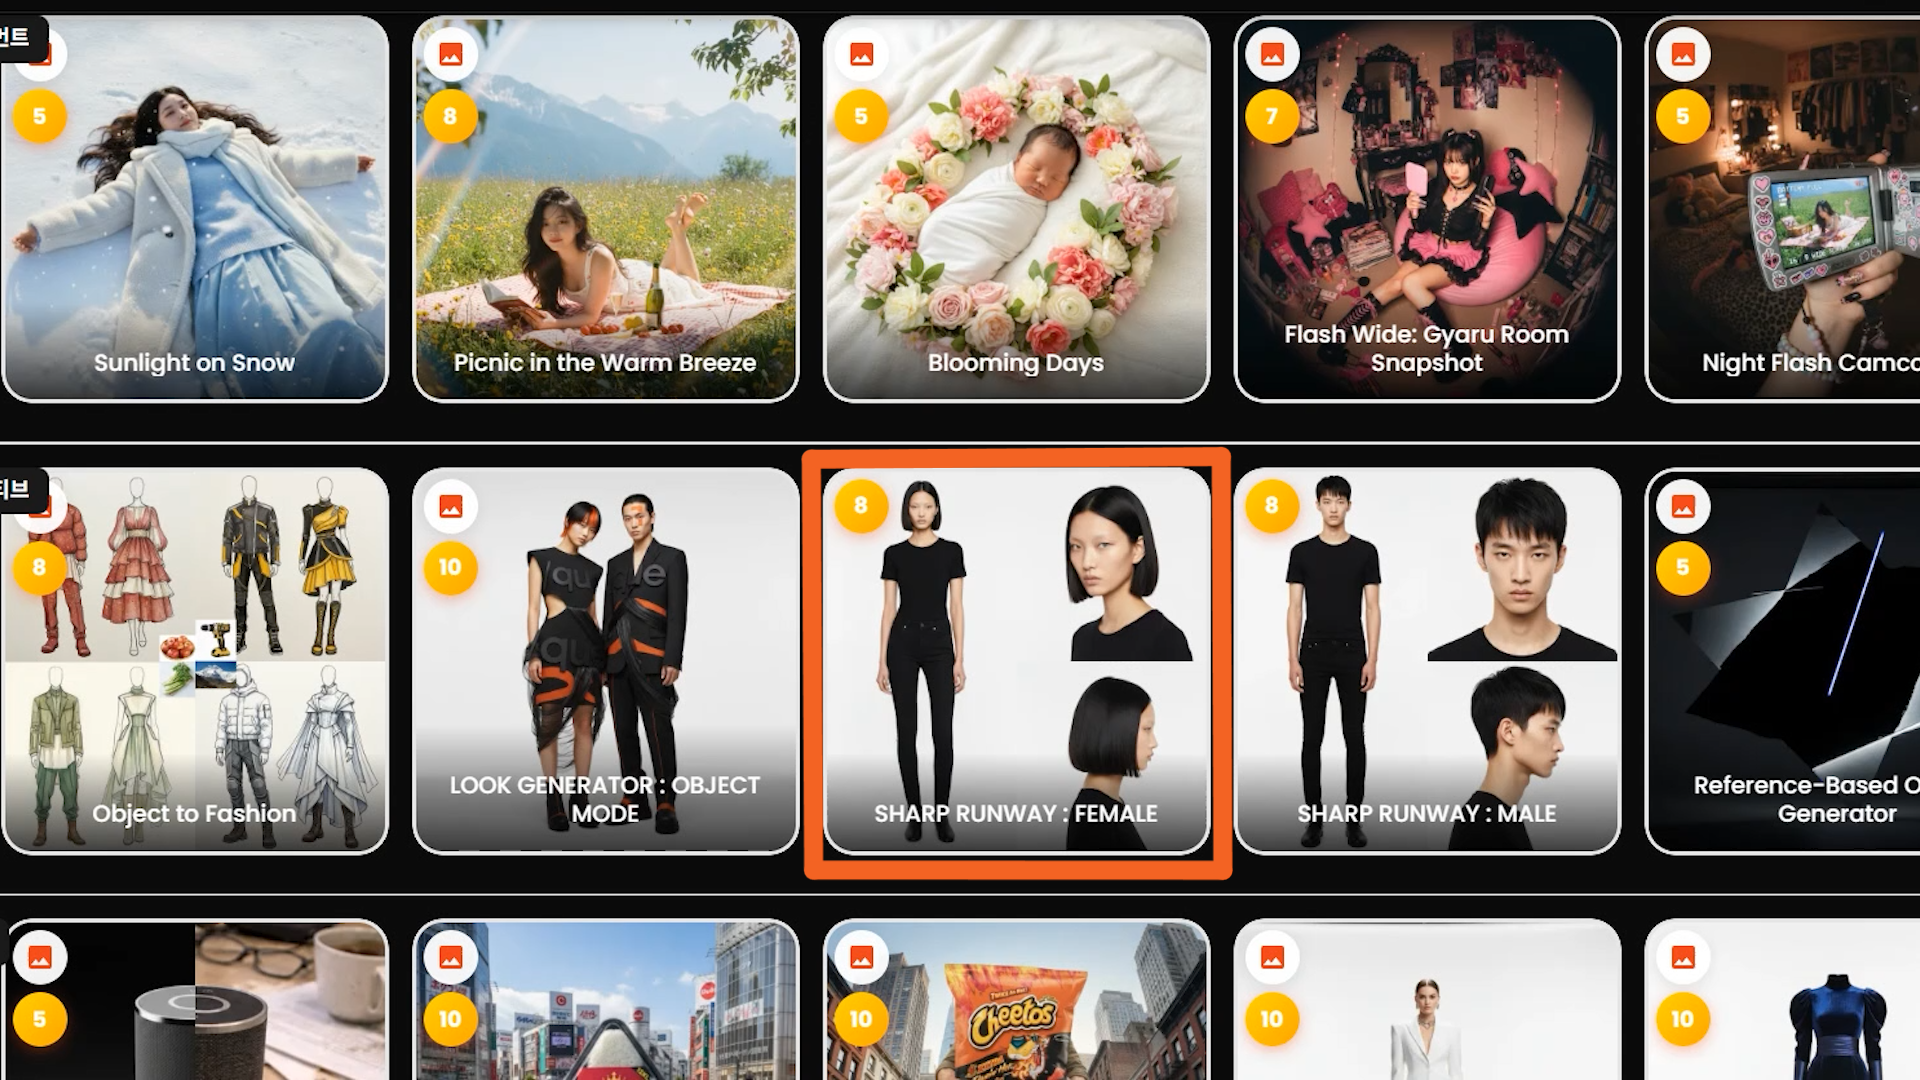
Select “Sharp Runway: Female” from the Easy Studio template list on the landing page,
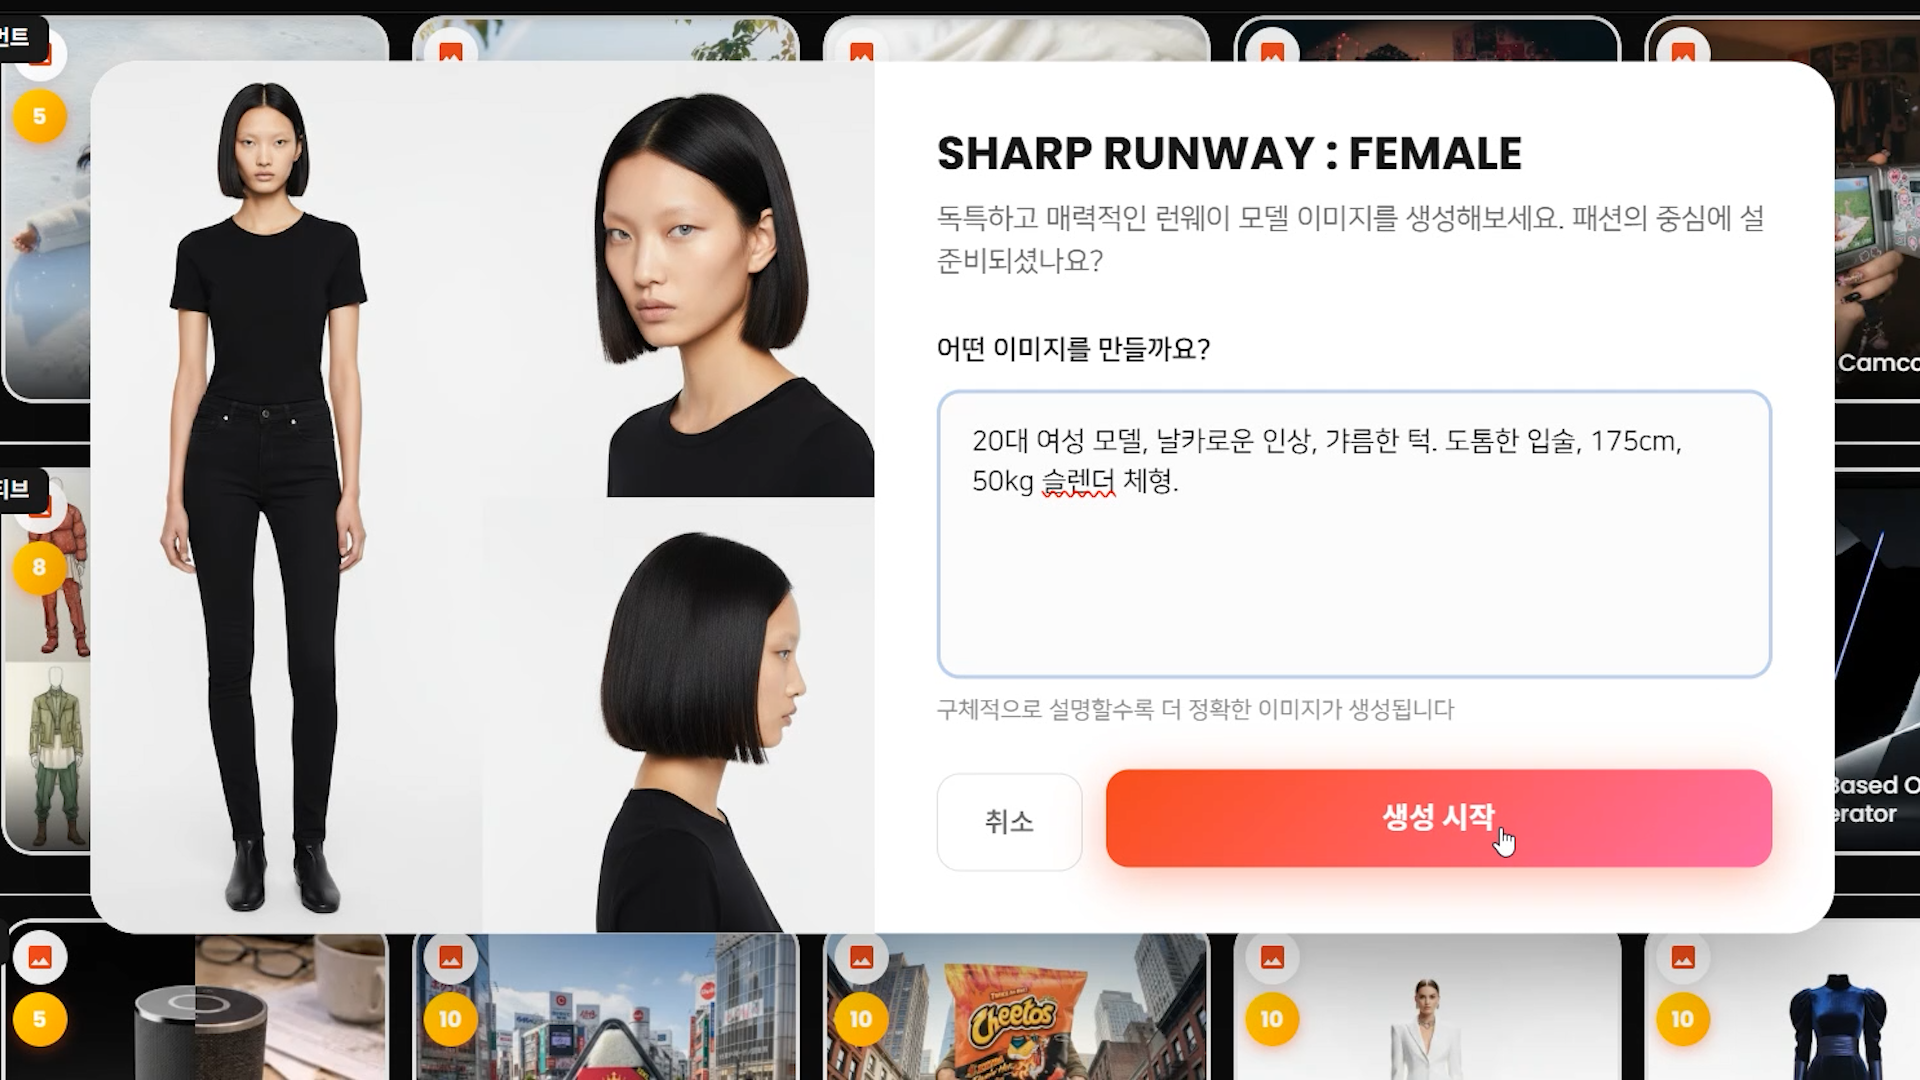
and quickly create a model by entering the necessary conditions.
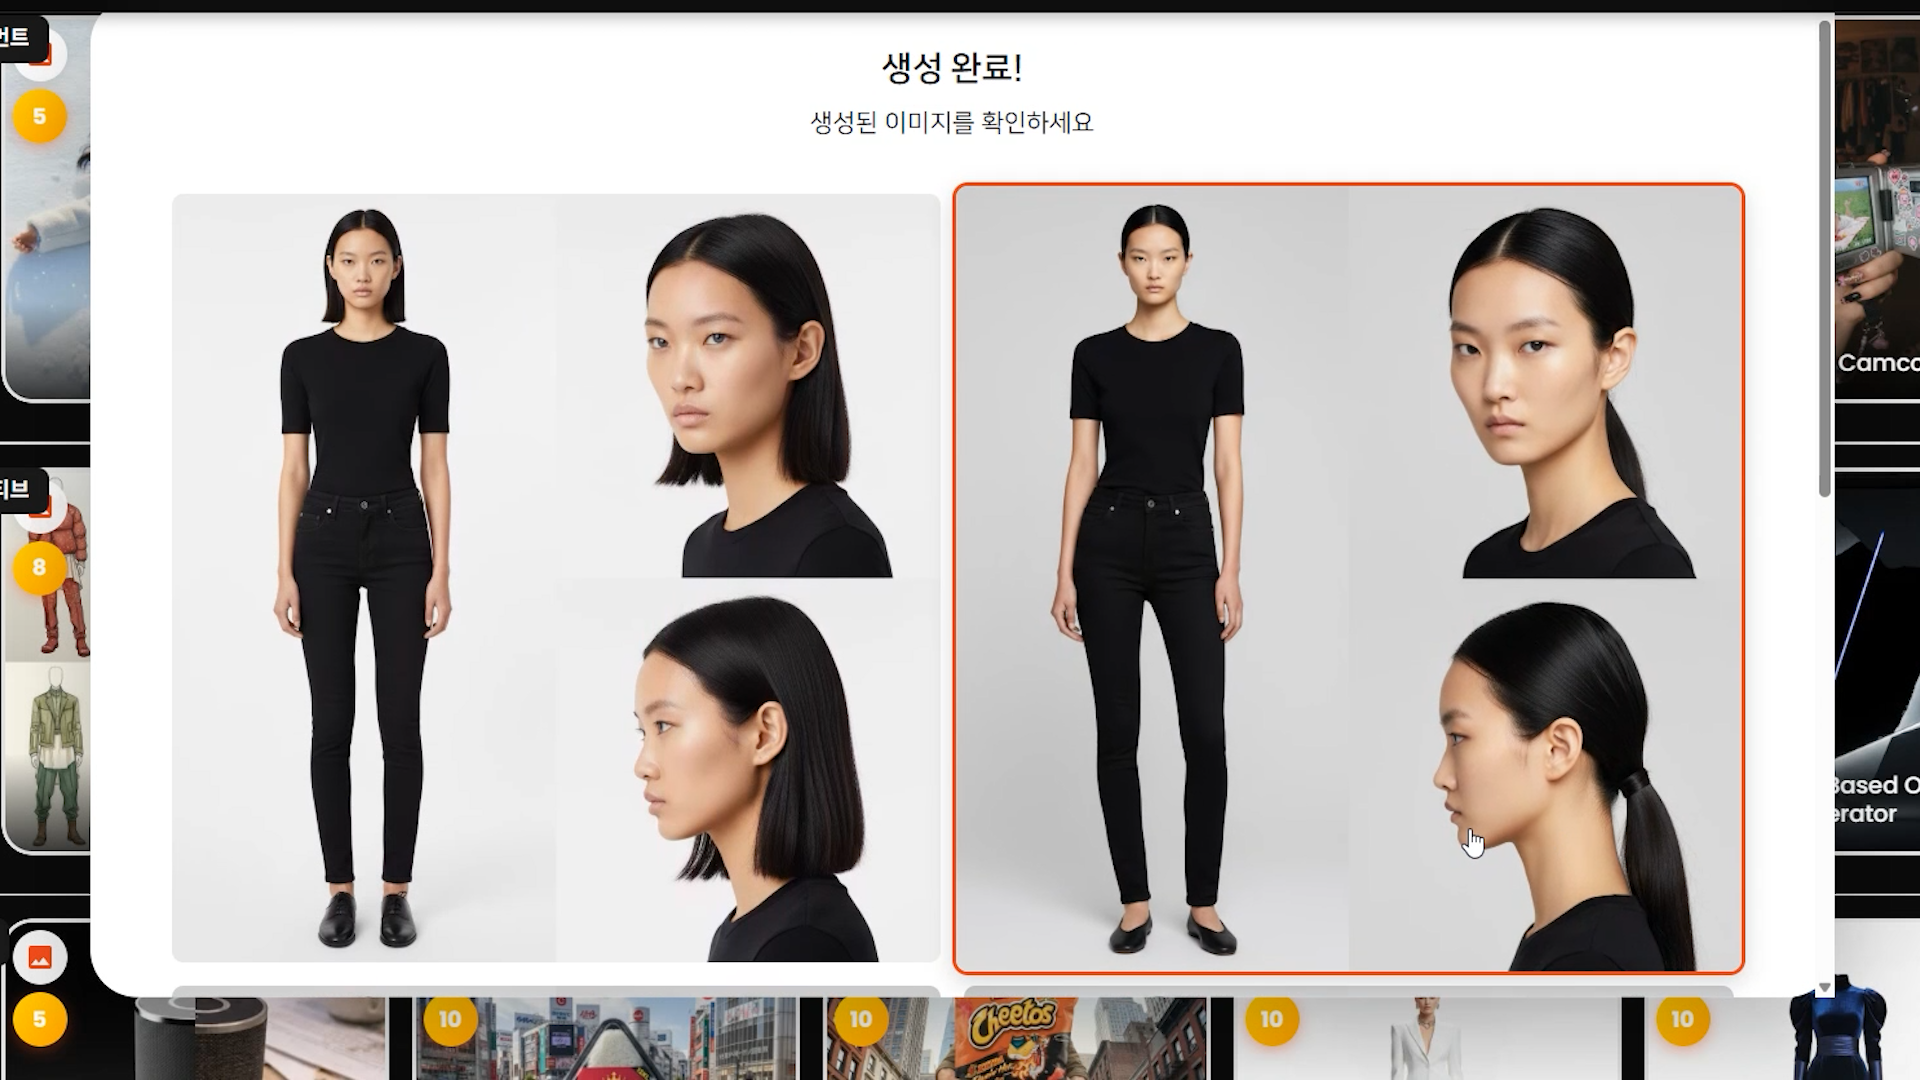
Click on a model profile you like to save it immediately.
Step 2. Asset Configuration (Model/Outfit) and Automatic Category Classification
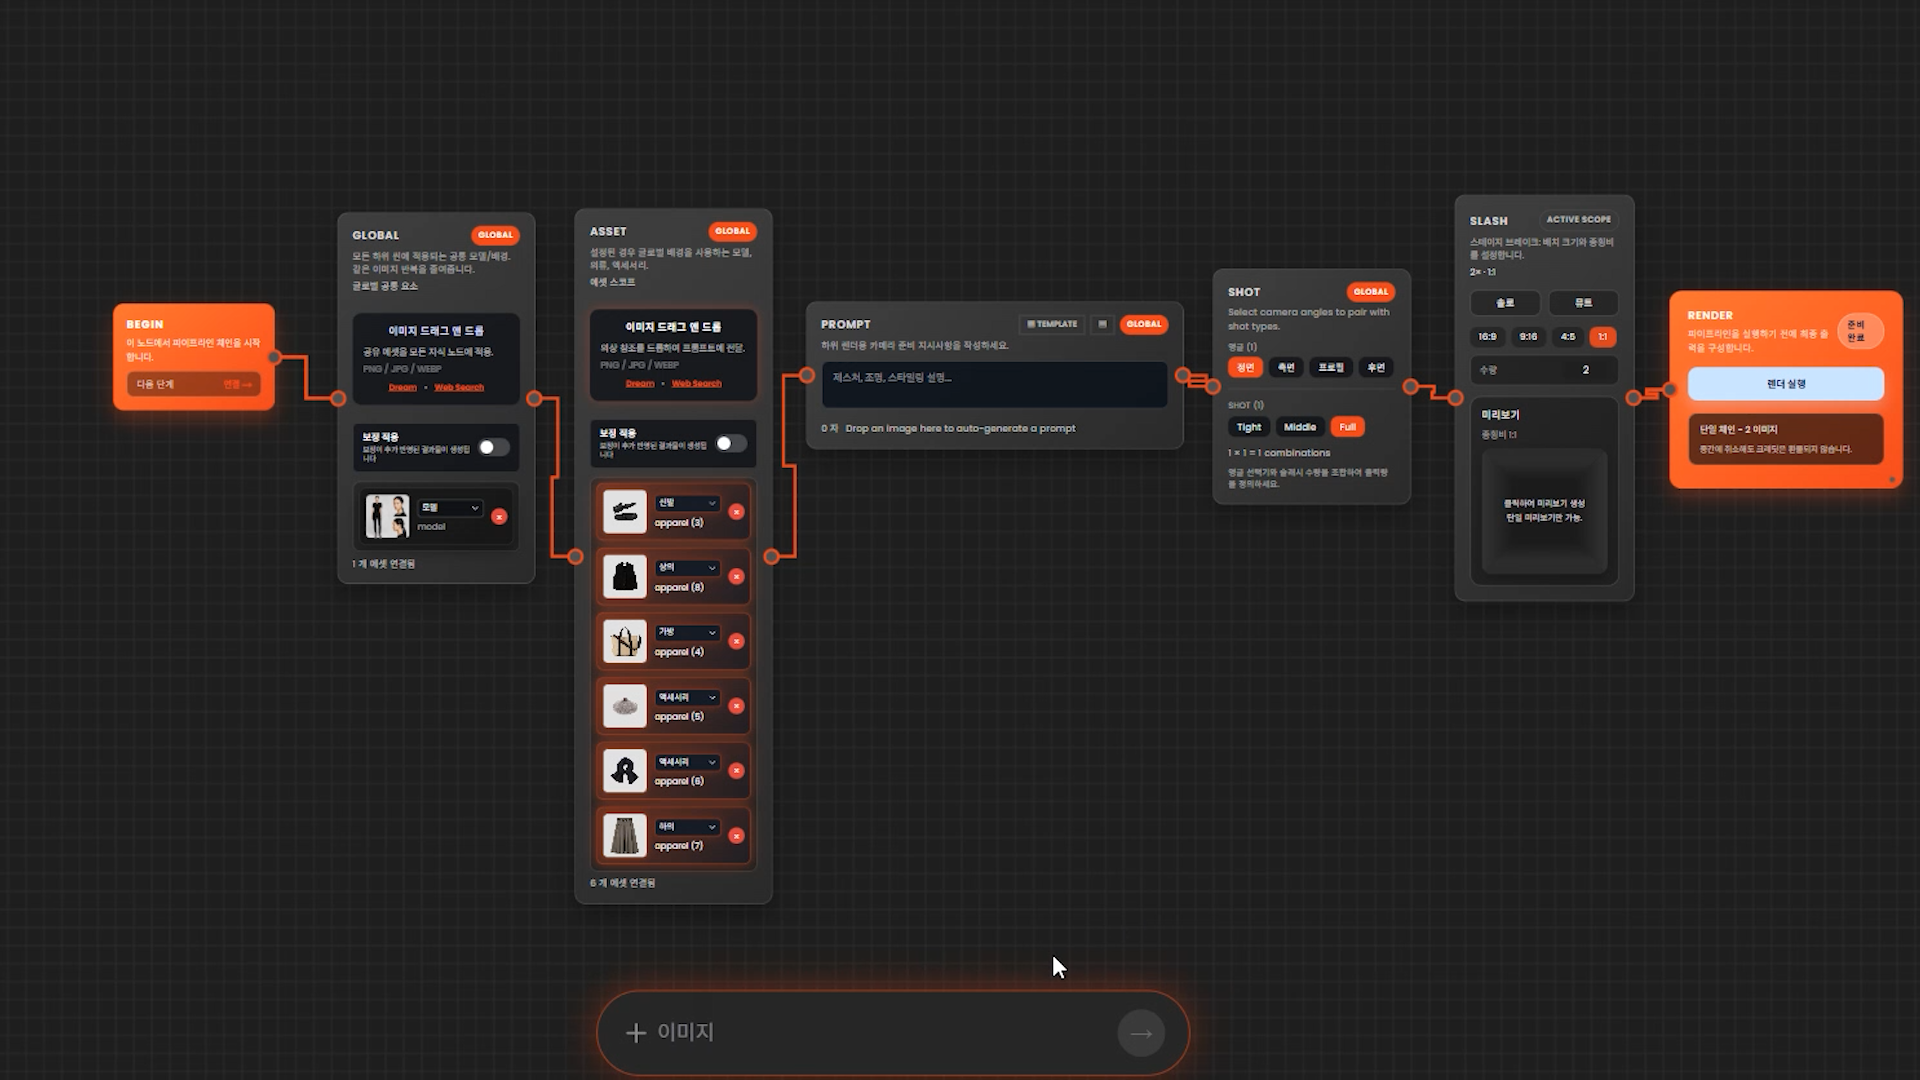
Enter the model image created in Global Node in Creative Studio, and add the outfit image to Asset Node.
This process can be easily performed using a drag and drop method.
When you enter the outfit asset, AI automatically recognizes/assigns the category.
After checking the automatically assigned results, you can click to reassign the category if necessary.
Step 3. Prompt Creation
Prompts can be written by the user or generated using external AI such as Google's Gemini or OpenAI's ChatGPT.
However, in this workflow, we use Quel Assistant to further shorten the prompt creation process.
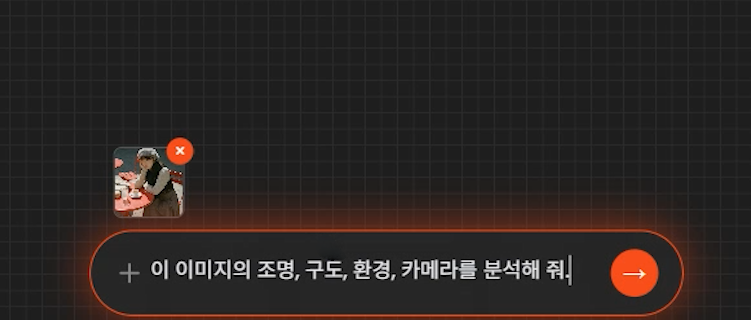
Convey the desired mood/direction in a conversational form in the text box below, and the Assistant will organize it into a prompt.
You can also request by dragging and dropping a reference image and asking to "analyze the image and write a prompt."
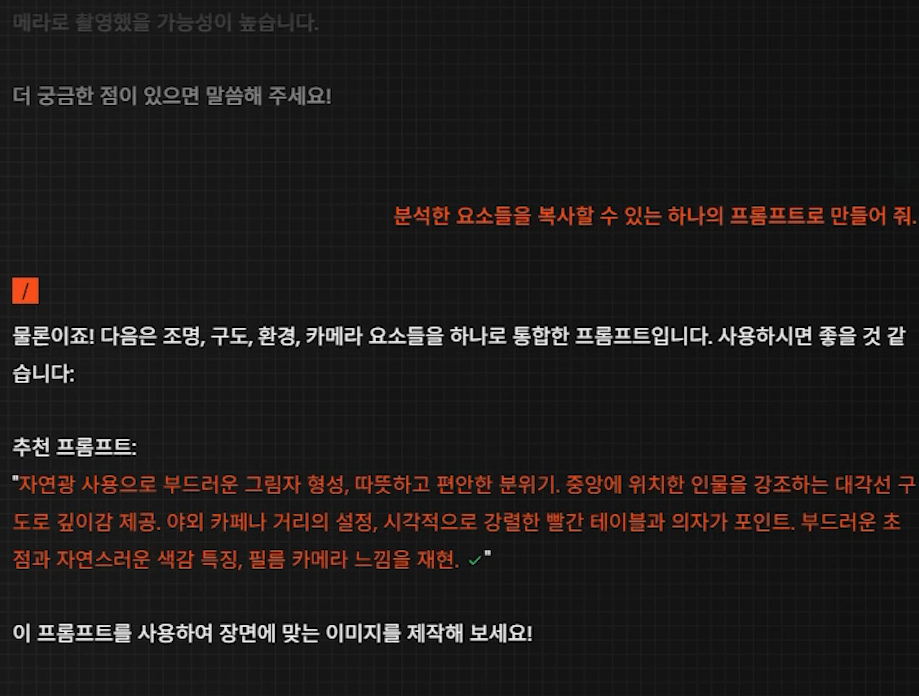
Once the analysis is complete, a prompt that can be copied with one click is generated.
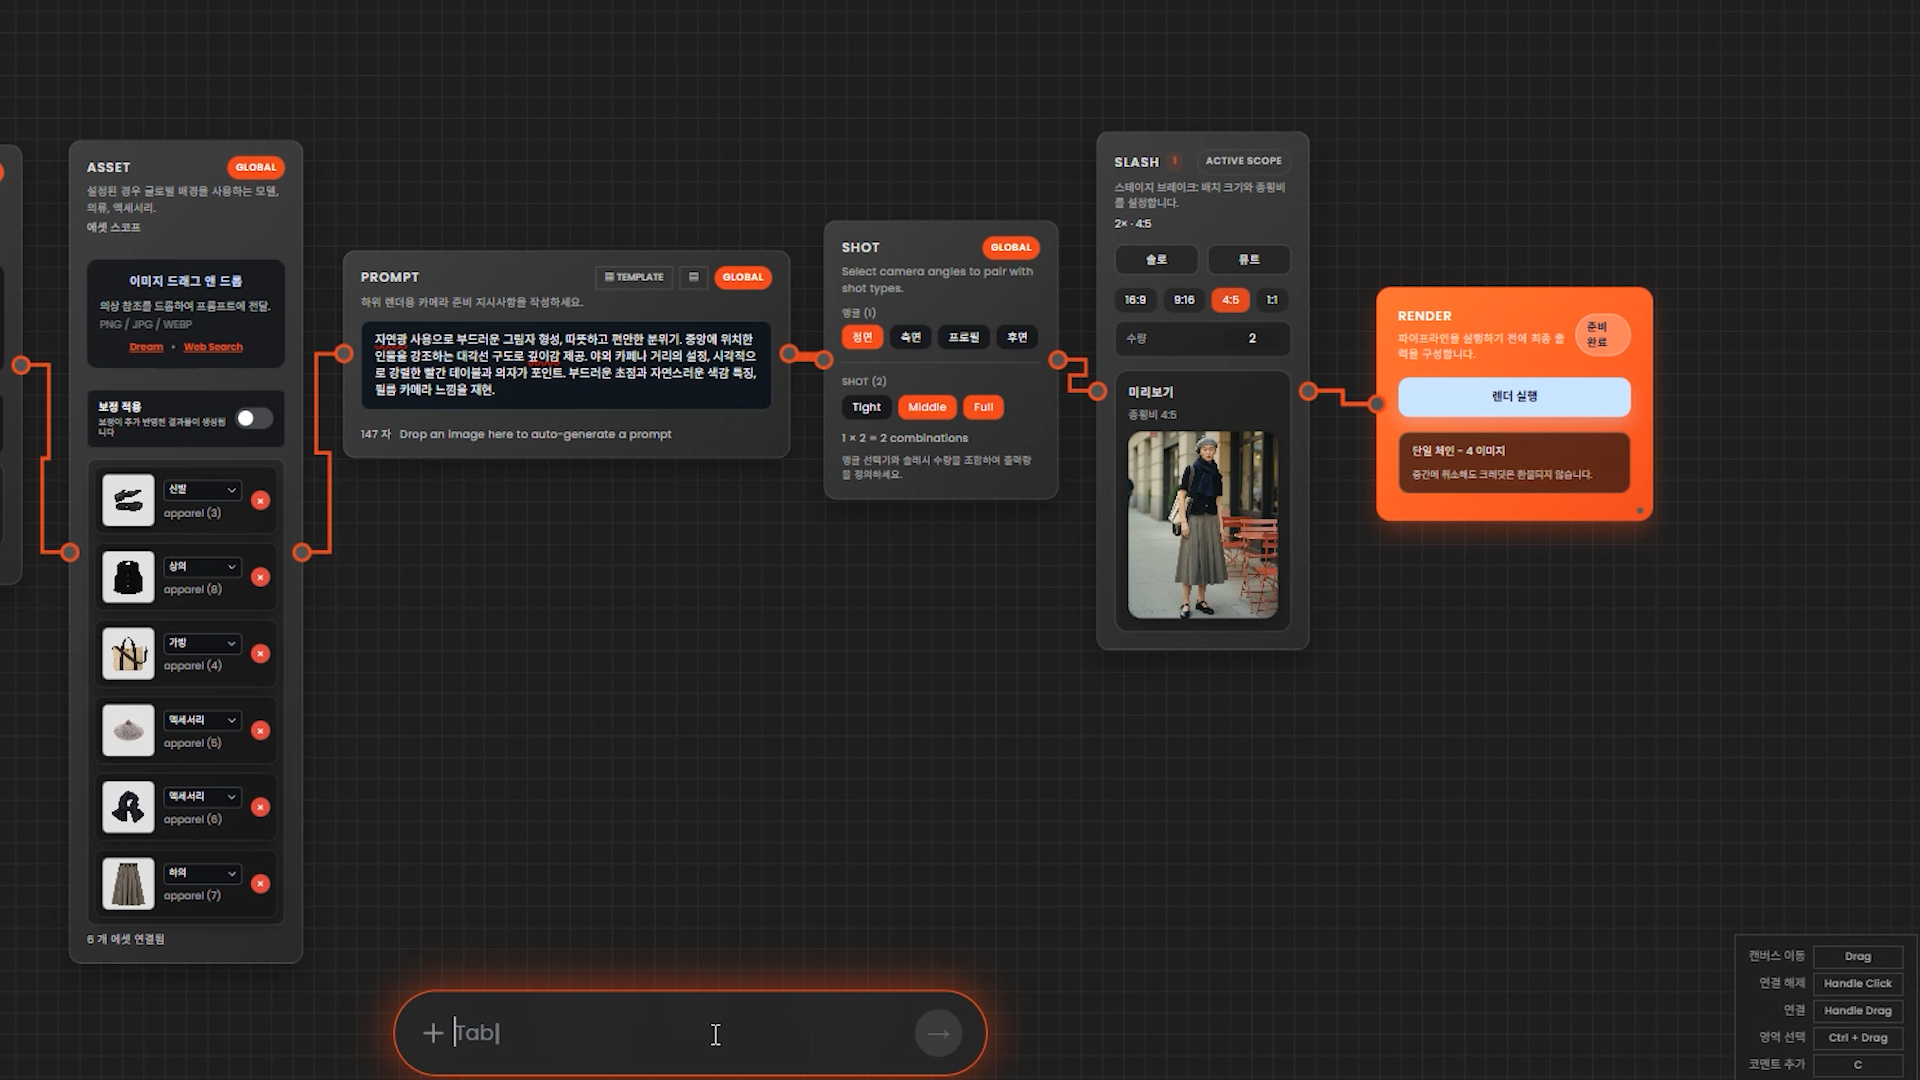
Then apply the prompt to check the results with Render Preview.
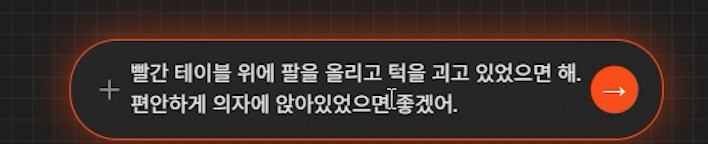
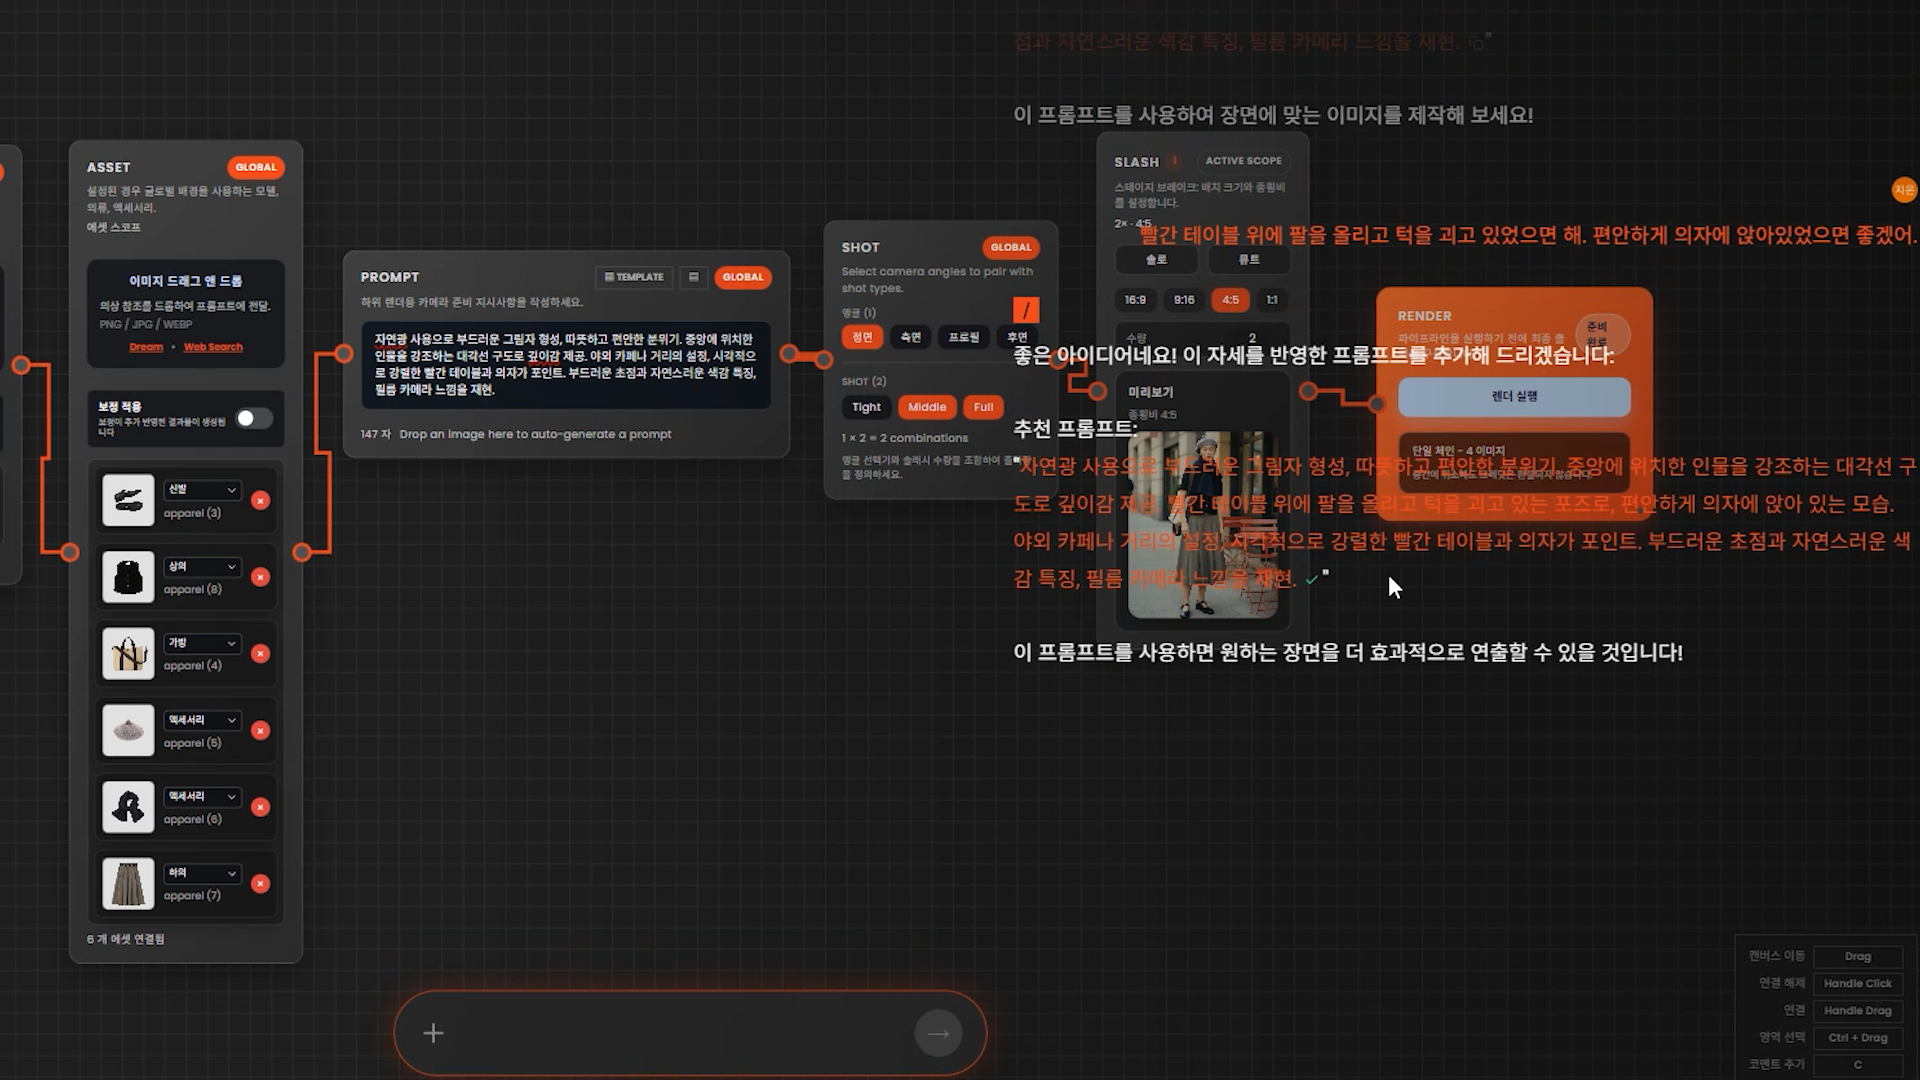
If the result is different from what you expected, request the Assistant to "add/modify the desired elements" to update the prompt.
For example, if you need a "model sitting pose," reflect that requirement and re-render the preview.
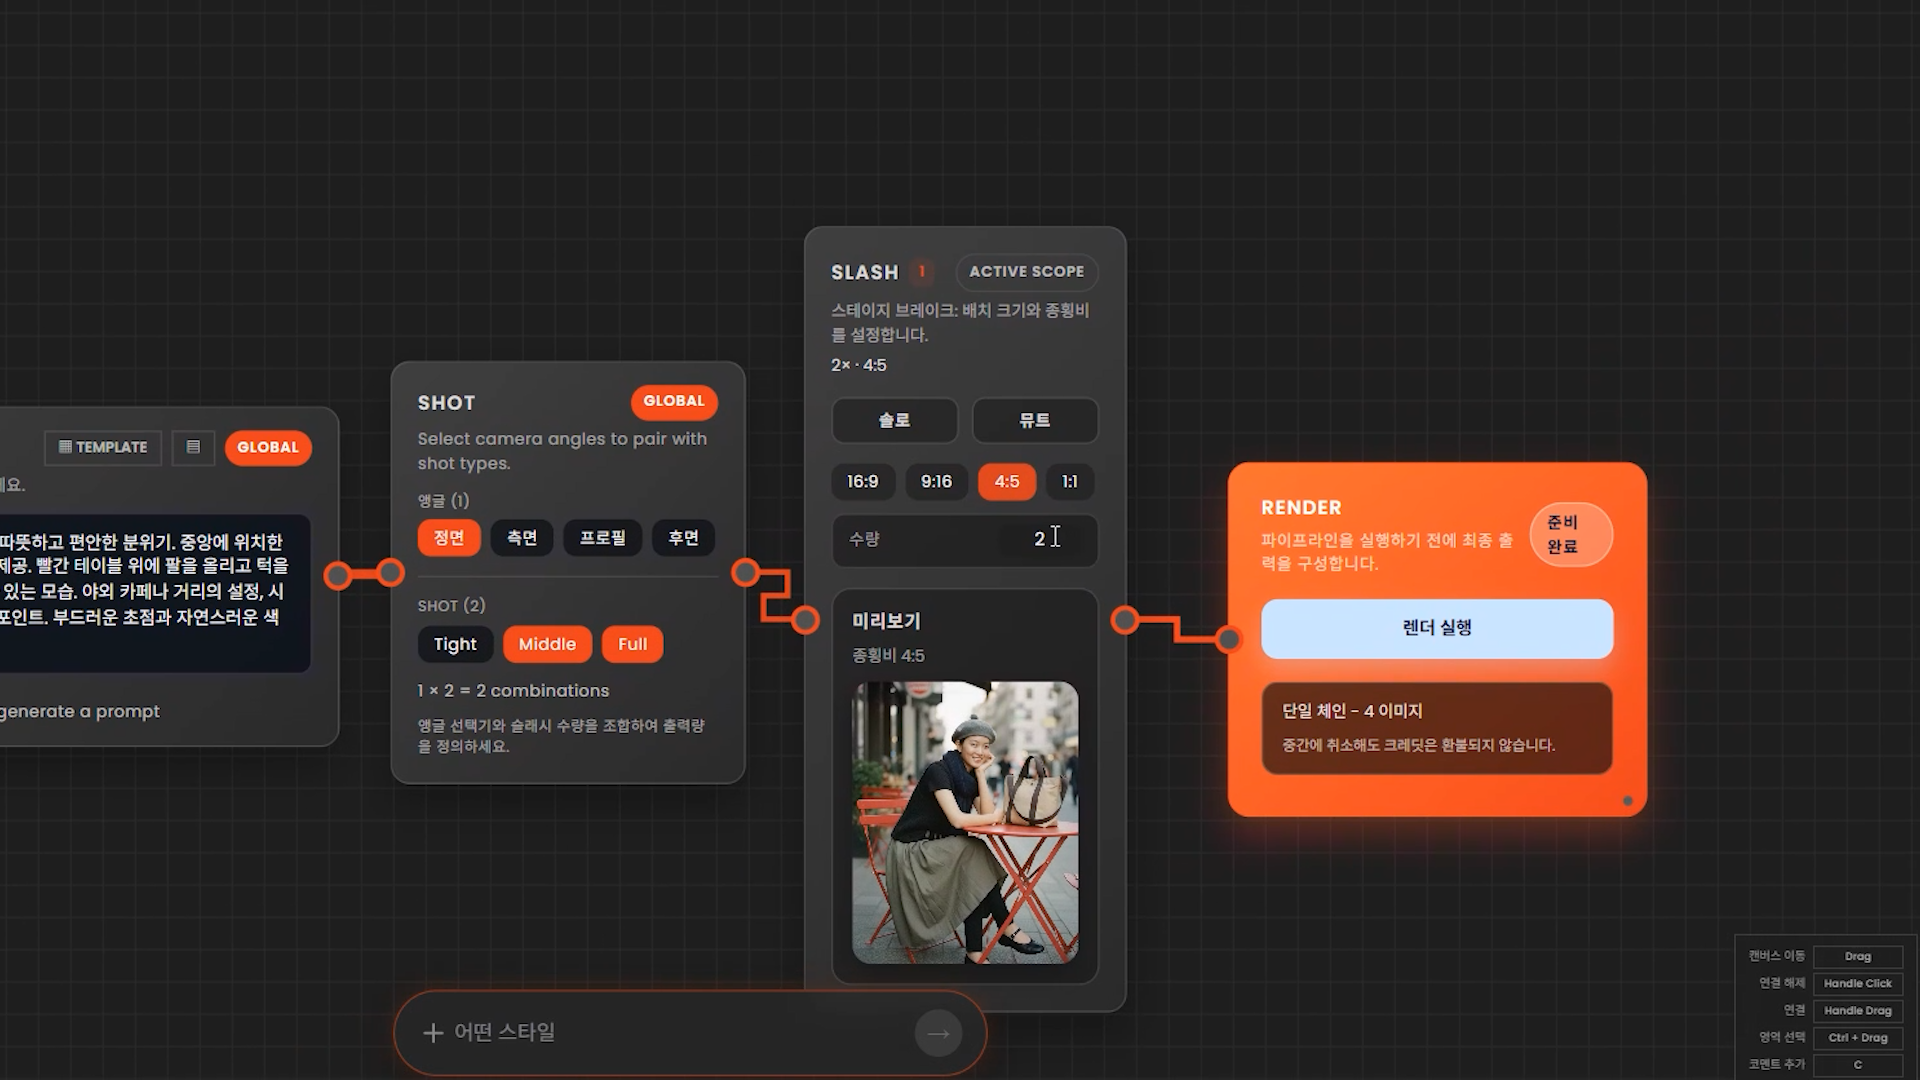
If the preview is satisfactory, set the output specifications and number of outputs in Shot Node / Slash Node and proceed with the final render.
The render results are generated per the set shot unit, as many outputs as specified for each shot.
Step 4. Result Selection and Partial Replacement through Modify
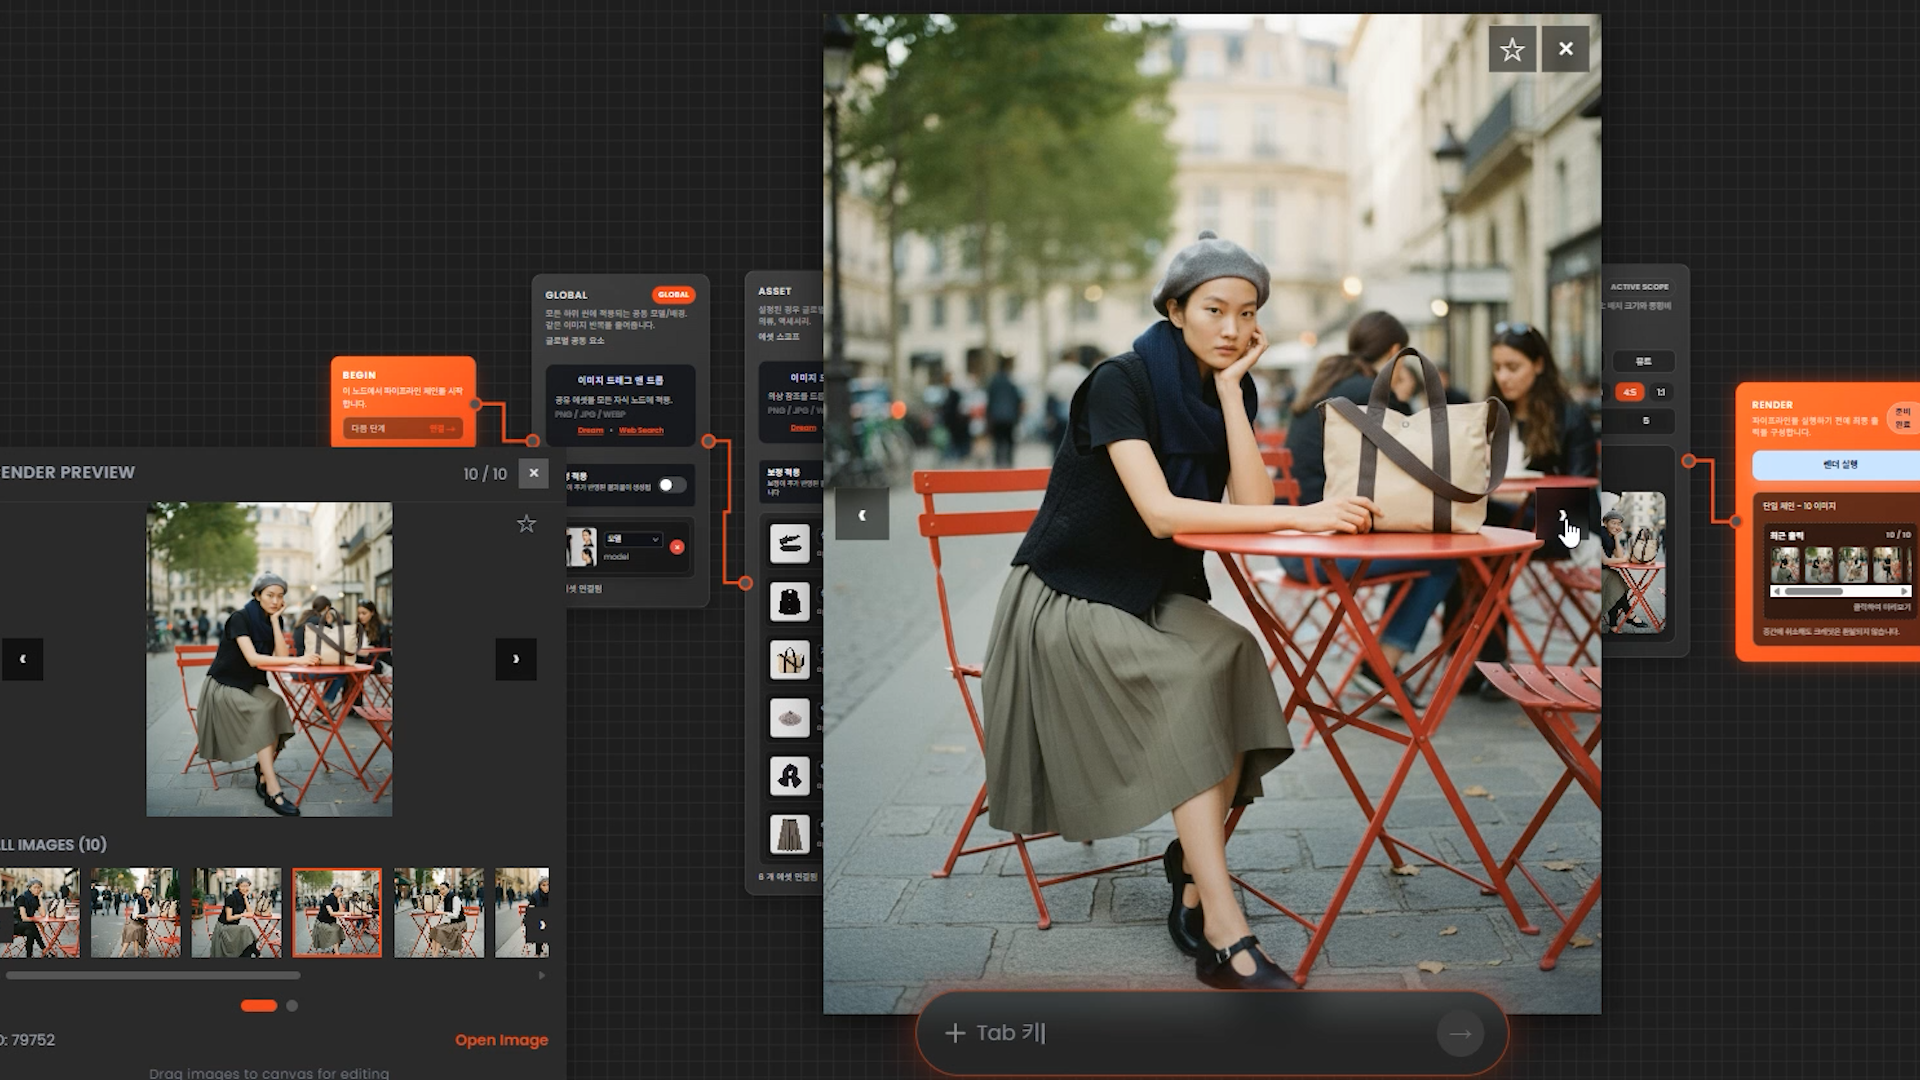
Review the render results and select the best shot. You can modify the prompt and re-render if necessary.
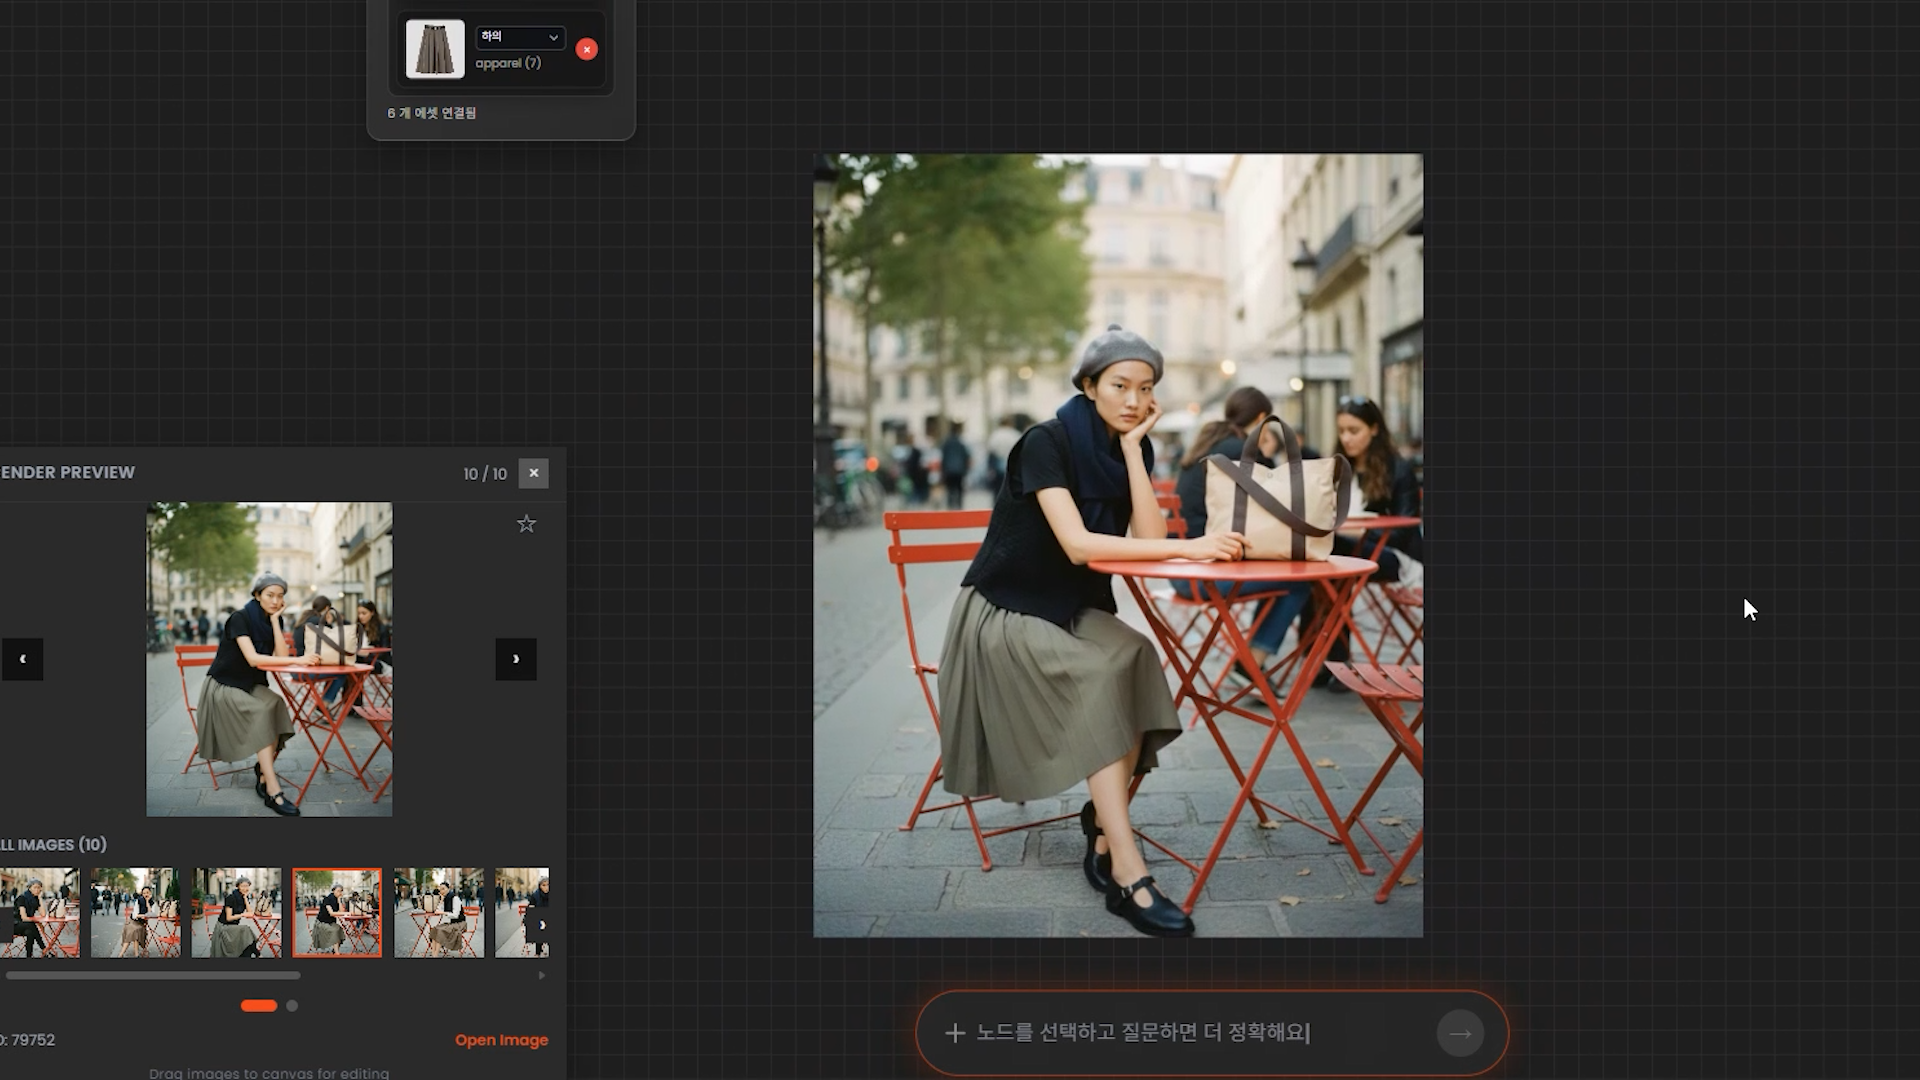
The results can be marked with a star (favorite) and selected from the Archive,
or immediately dragged and dropped onto the studio board for organization and modification.
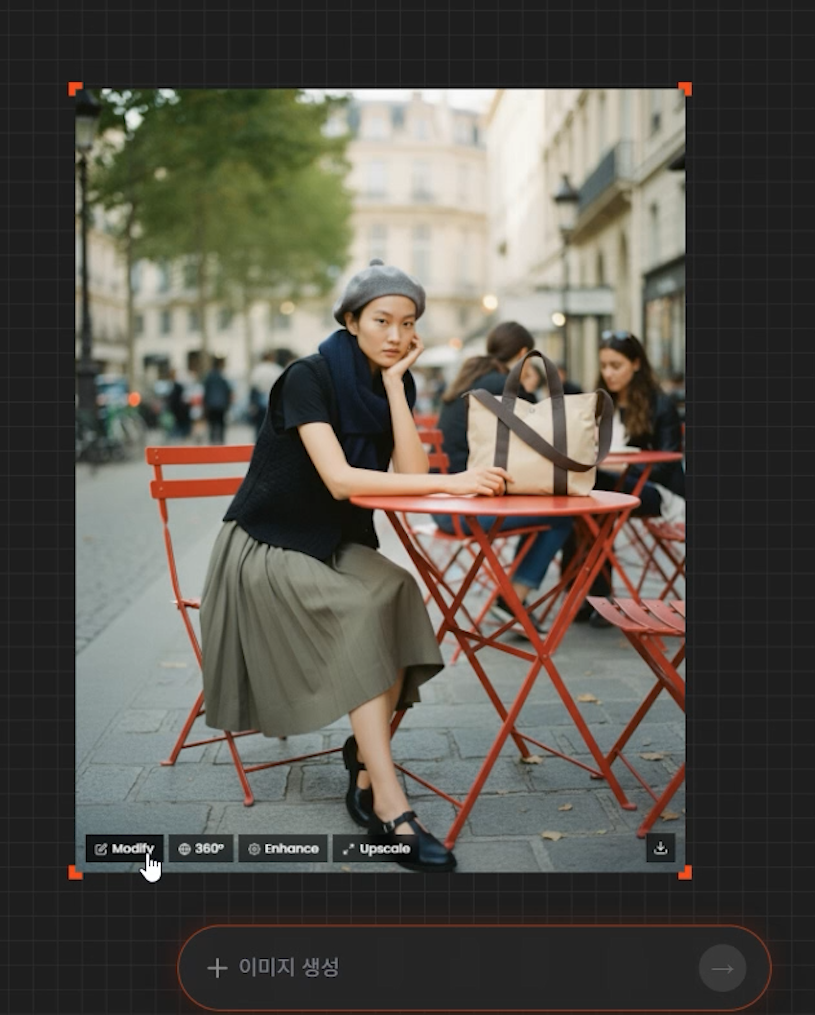
If you need to replace or modify only specific objects while maintaining the overall mood of the image, use the Modify function at the bottom of the image.
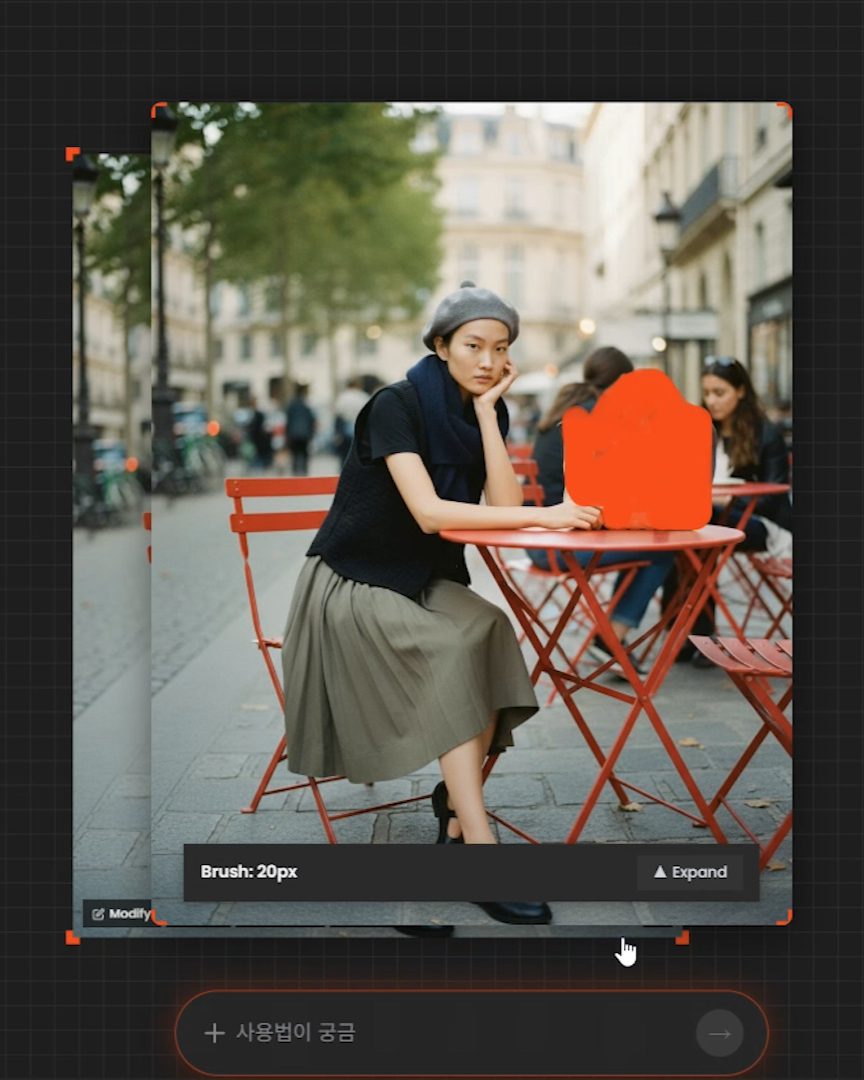
Mask the area to be replaced with a brush,
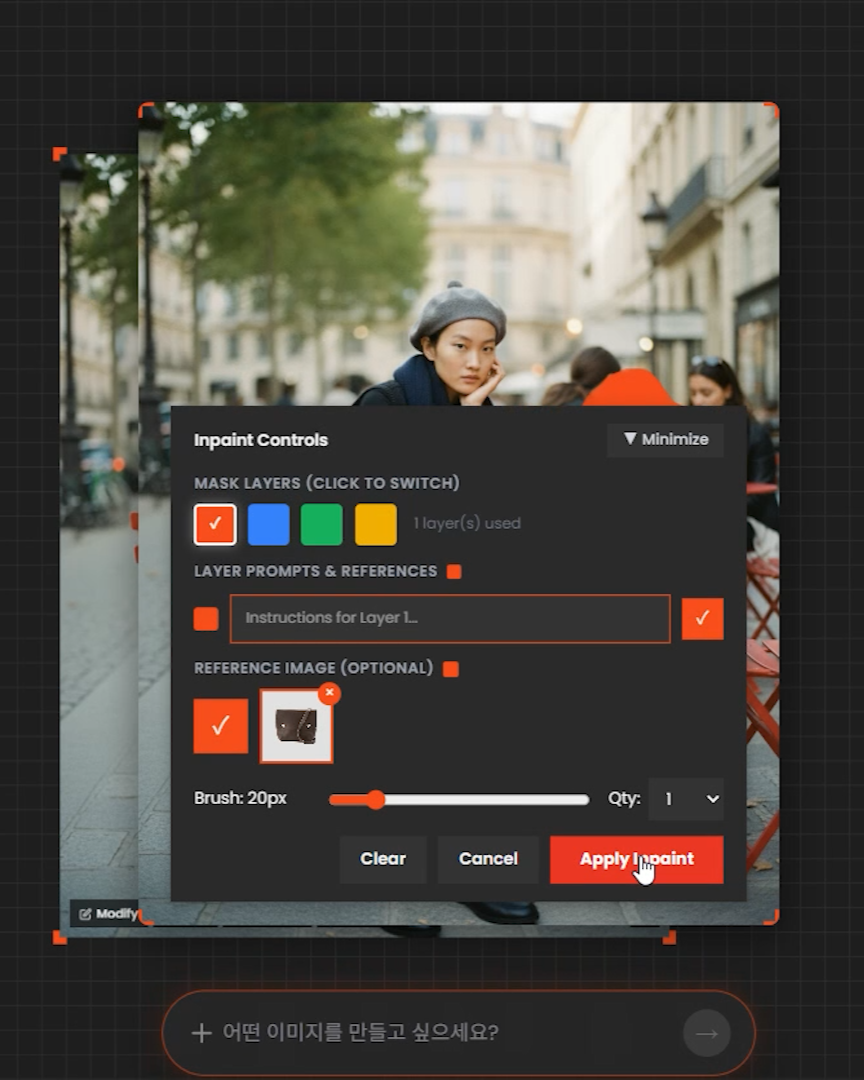
and enter a new bag image.
You can work by separating into multiple layers, allowing for a step-by-step replacement of multiple elements.
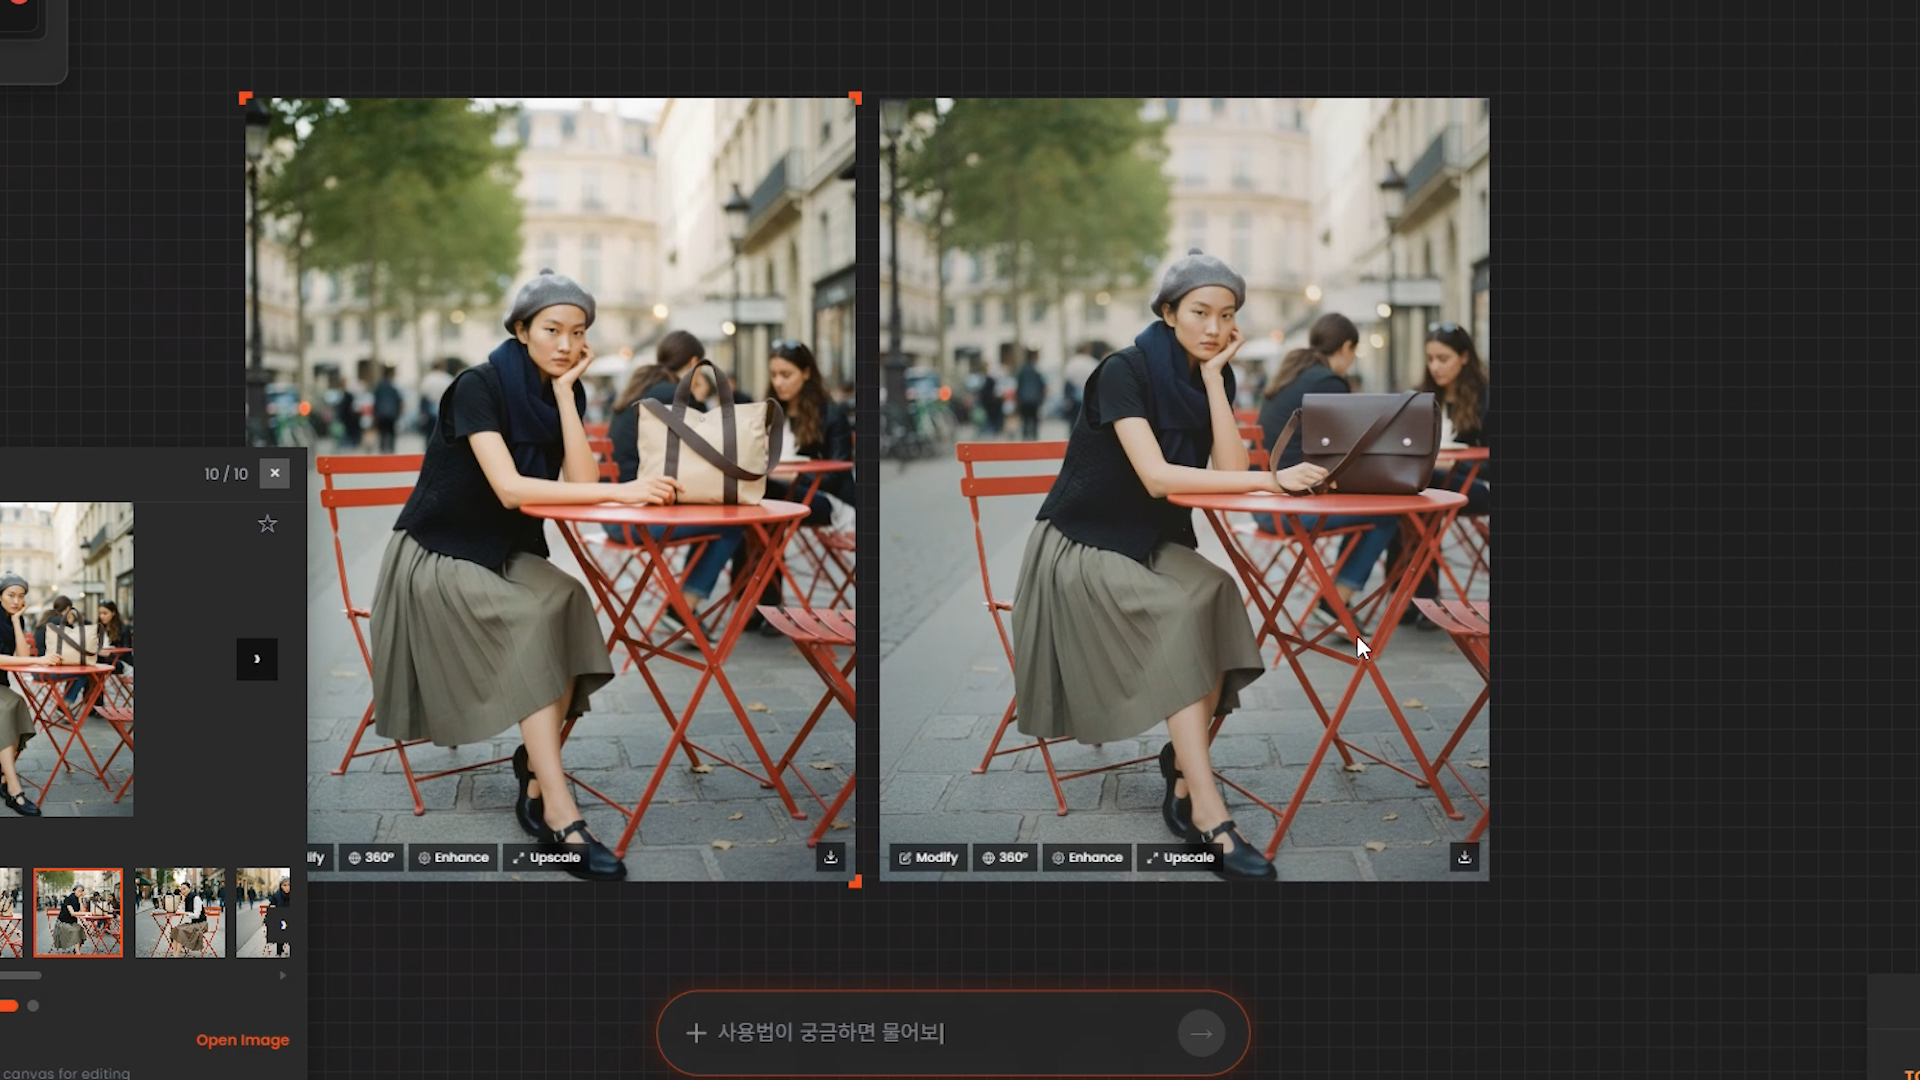
Finally, check if the bag has been naturally replaced.
Step 5. Color/Brightness Correction with Enhance
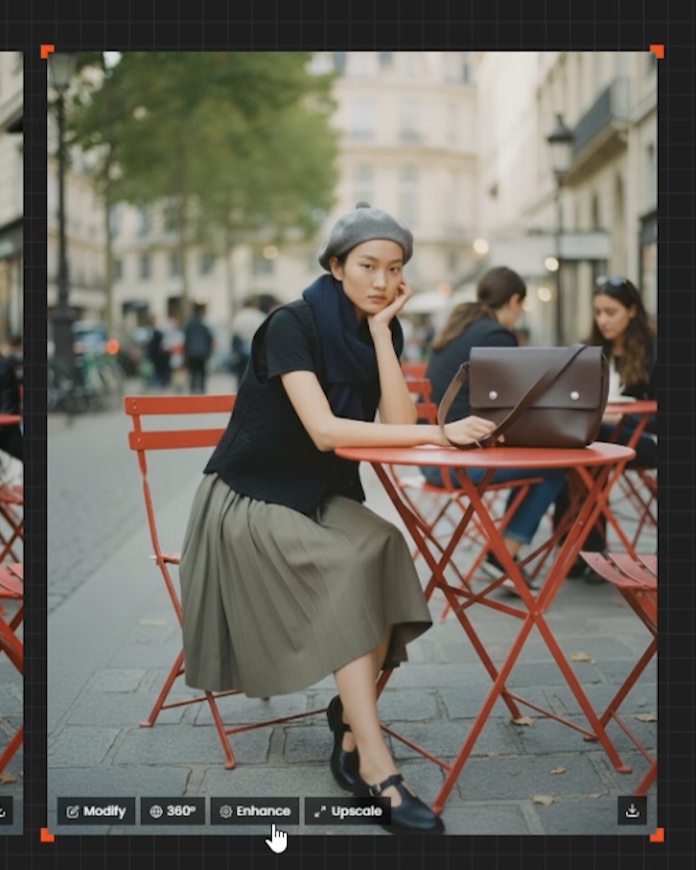
Apply Enhance to the selected results to adjust tones such as color and brightness.
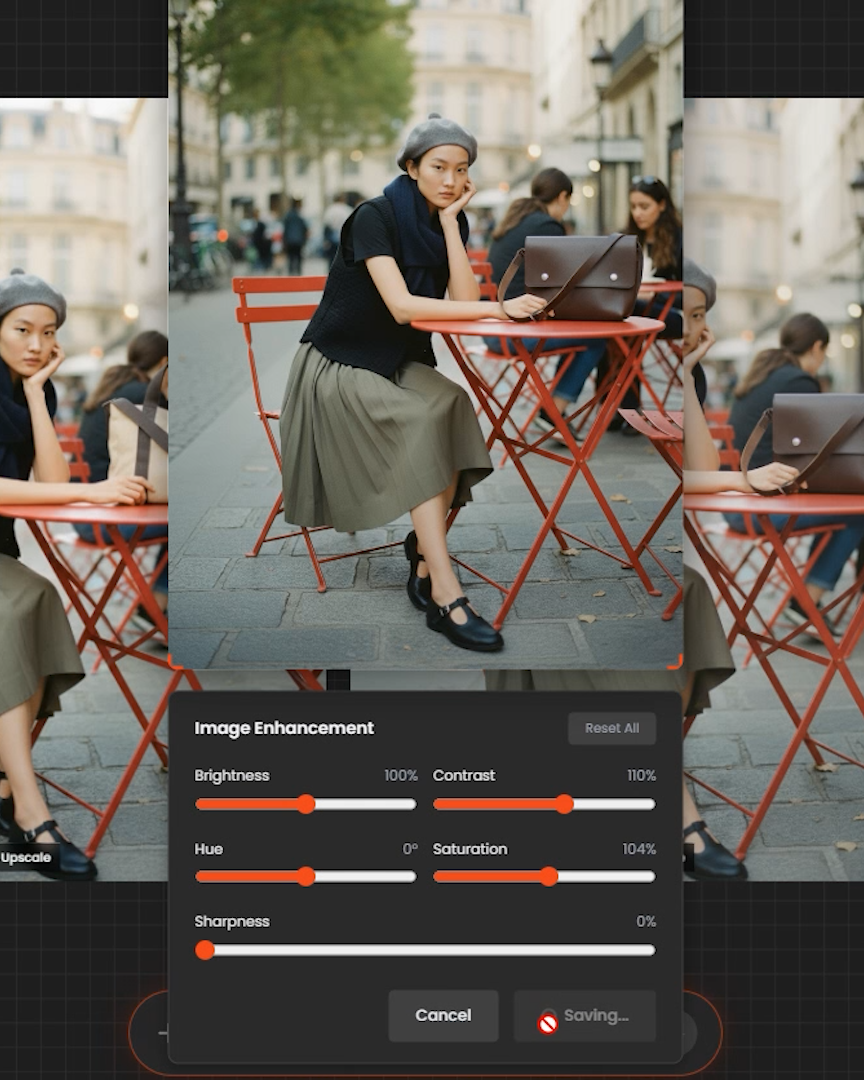
Apply the settings once the desired mood is achieved.
Step 6. Upscaling for Commercial Use (High-Resolution Output)
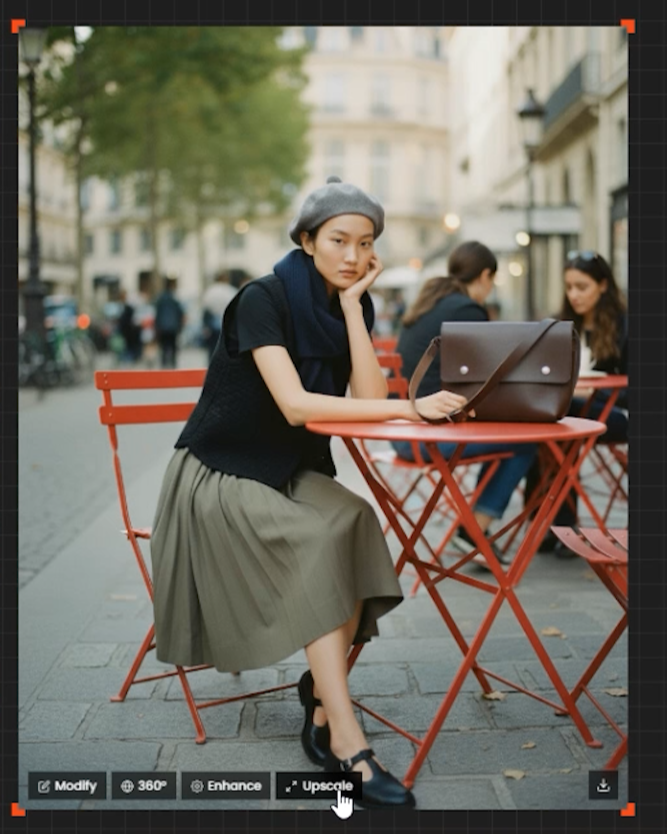
To use the final results commercially, high-resolution output is required, so execute Upscale.
(Please contact Quel Suite for upscale usage rights, and 30 credits are consumed per upscale.)
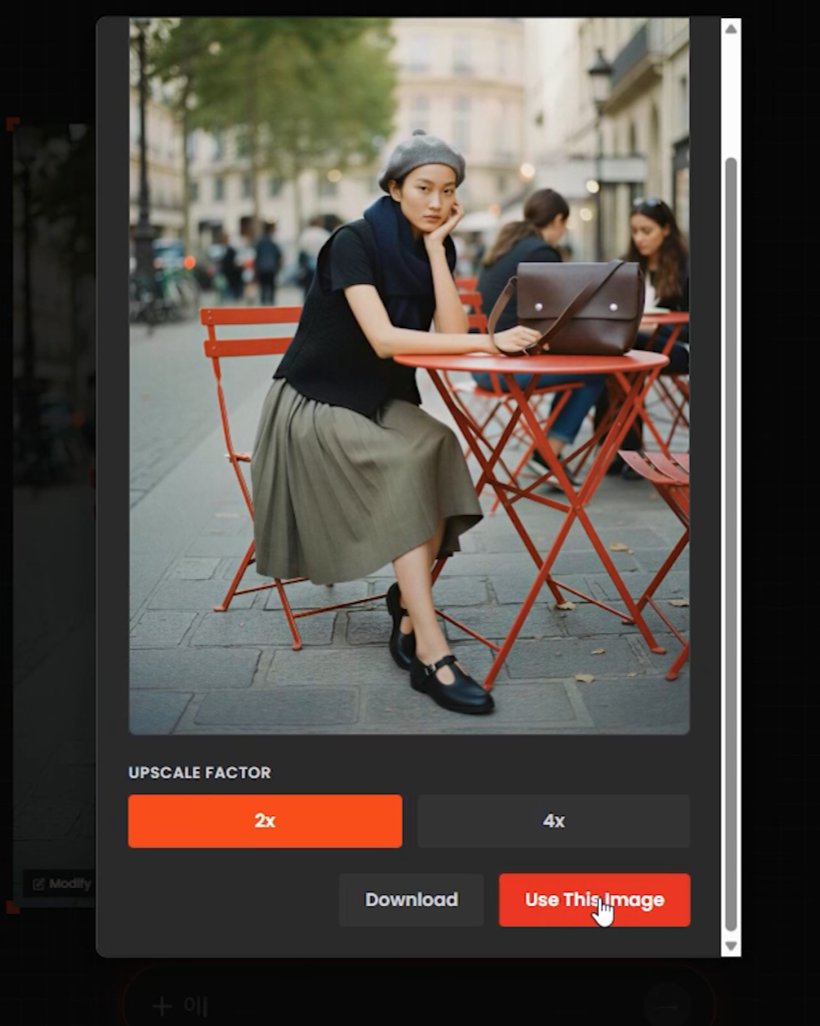
After applying upscale, produce the final high-resolution results.
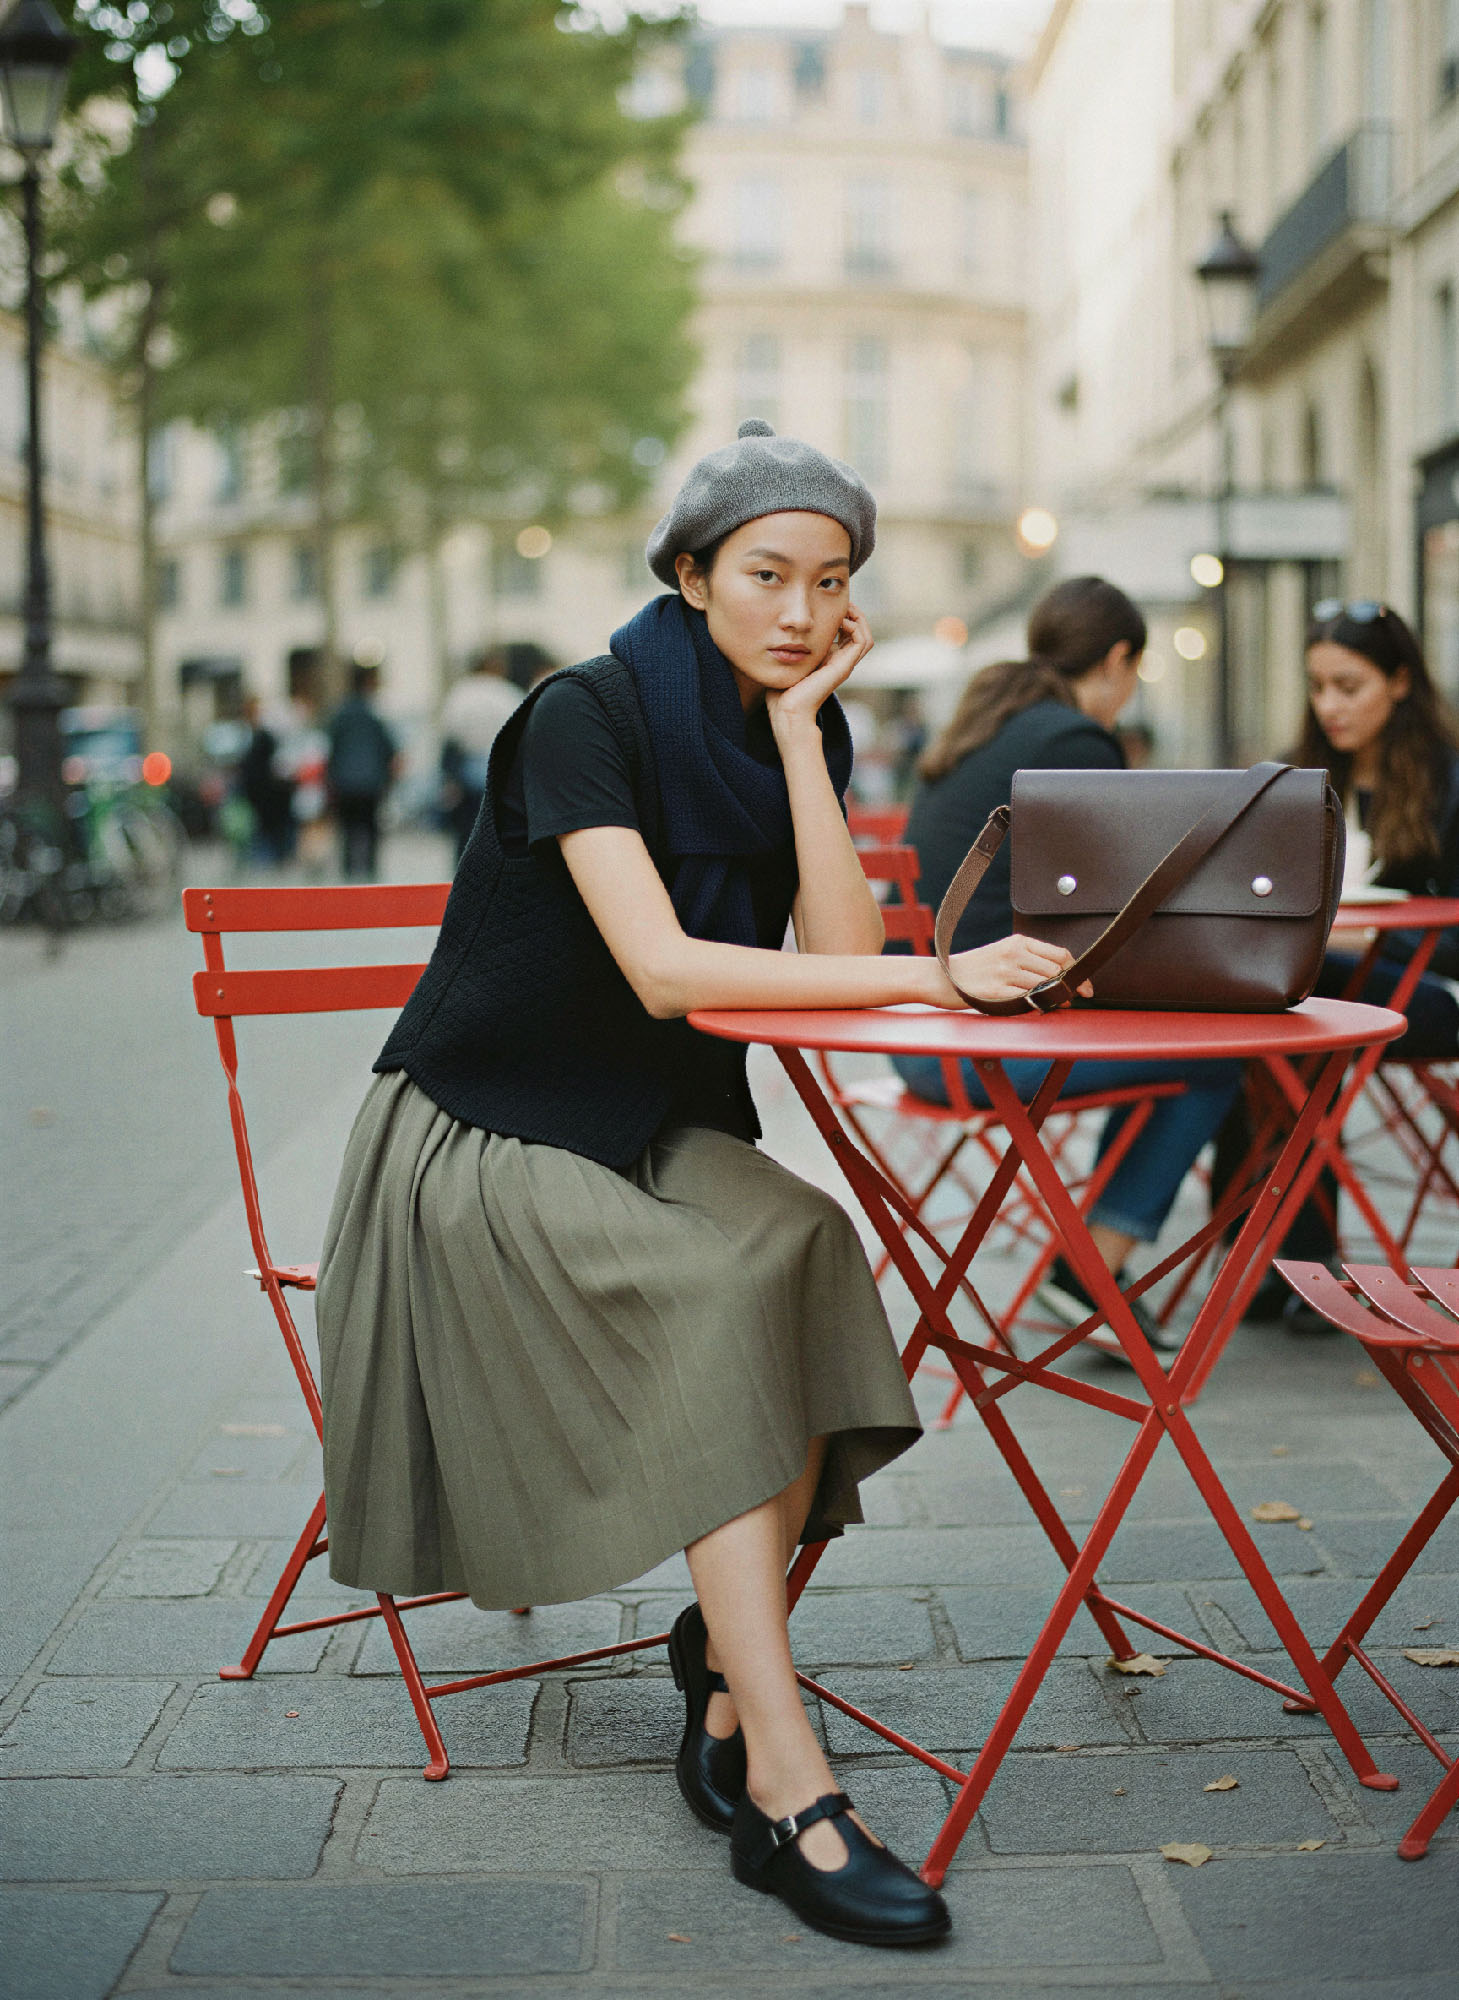
The single pipeline based on Quel Suite allows for consistent processing of the entire process from model creation–rendering–modification–retouching–upscaling in one environment, while reducing production lead time and costs.
As a result, it was confirmed that it is possible to operate in a way that quickly produces a large volume of high-quality results without relying heavily on proficiency.