
How to Create a Fashion Lookbook from Various Angles through Consistent Environment Settings
The workflow from background modification, prompt creation, and image rendering within Quel Suite to generating images from various angles using the 360º feature
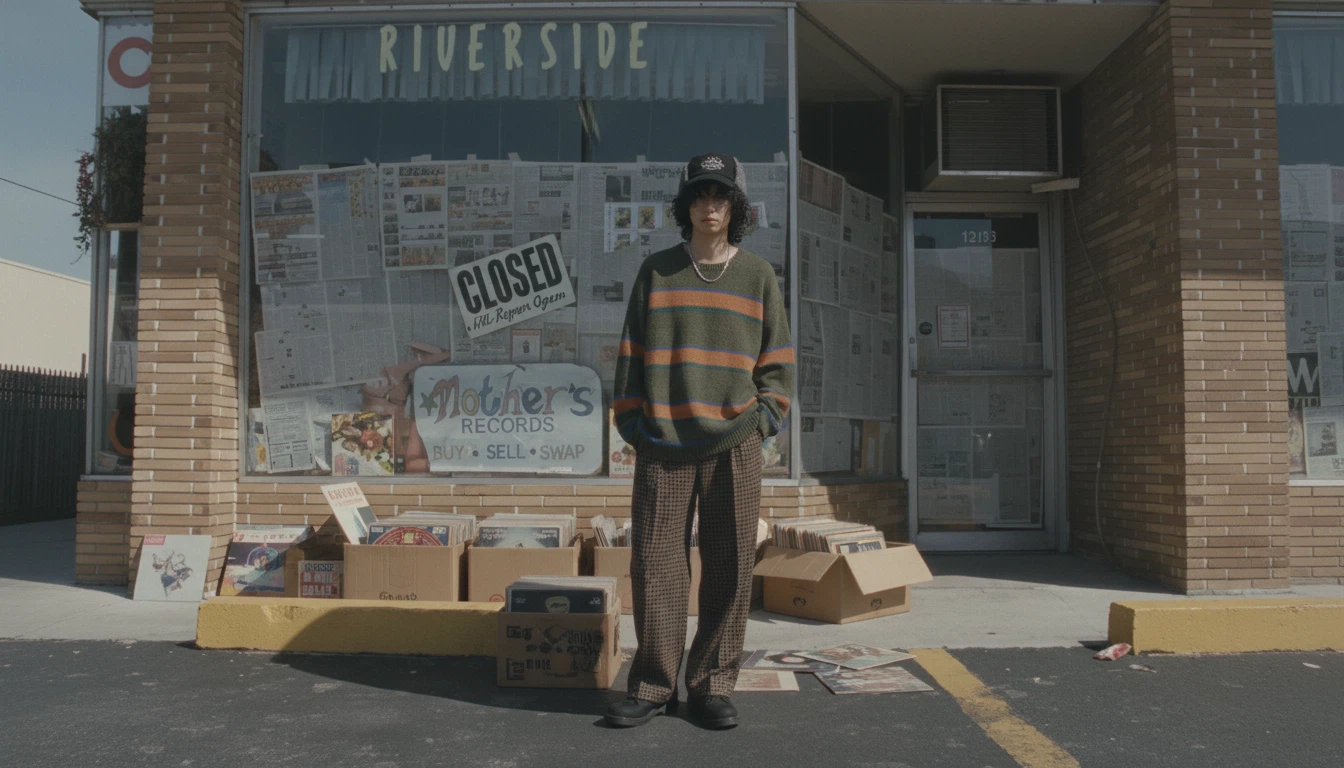
Step 1. Setting the Background for the Lookbook
In a fashion lookbook, the background is not just a decorative element, but acts as a standard environment that stably supports the clothing and model.
Therefore, the first step in creating a lookbook is to organize the reference background and accurately set it in the Global node.
1. Input Reference Background Image
Drag & drop the background image that represents the overall mood and concept of the lookbook into the Quel Suite workspace.
This image will be used as the reference for all subsequent cuts, so it is advisable to fully consider the color, spatial sense, and lighting conditions in advance.
2. Background Refinement through Modify Function
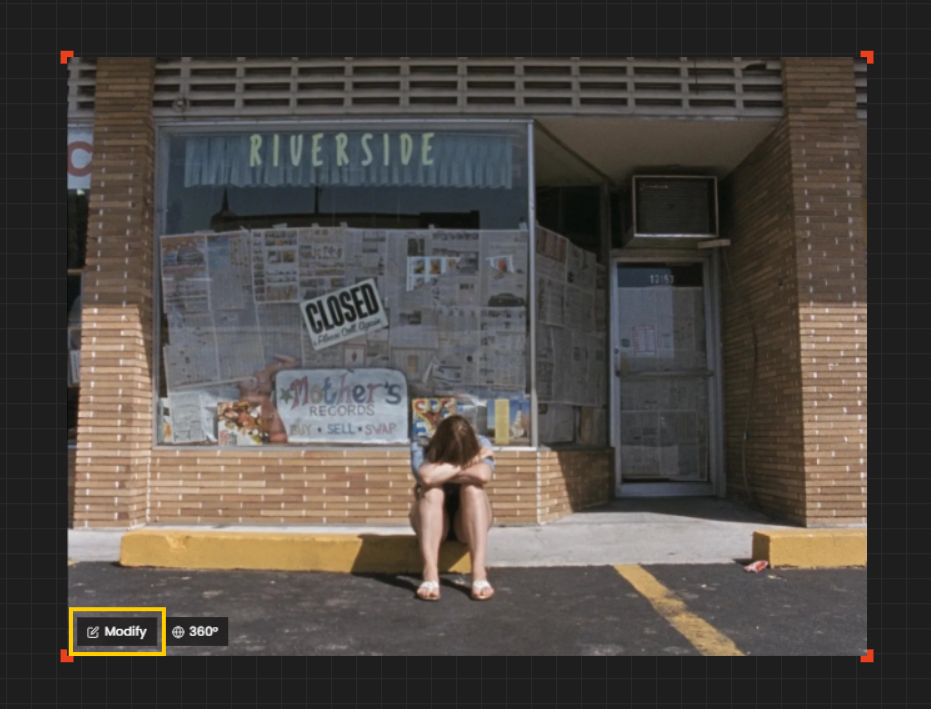
Select the background image and click the Modify button. The purpose of this step is to remove unnecessary elements from the lookbook, creating an environment where the model and clothing can naturally stand out.
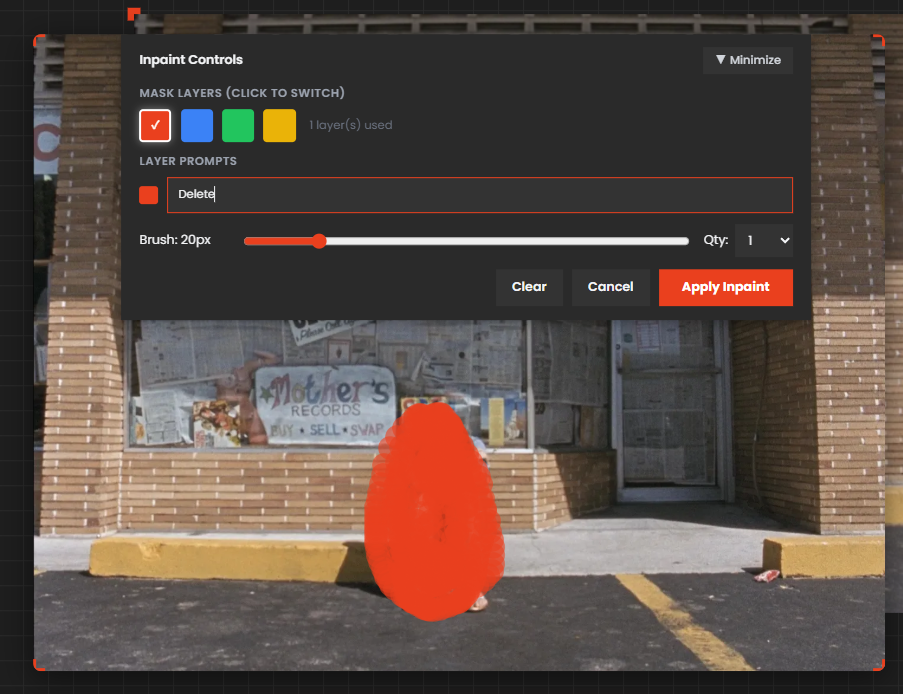
Use the Inpaint brush to directly paint over areas that need to be removed.
Then enter the Delete command to remove the element.
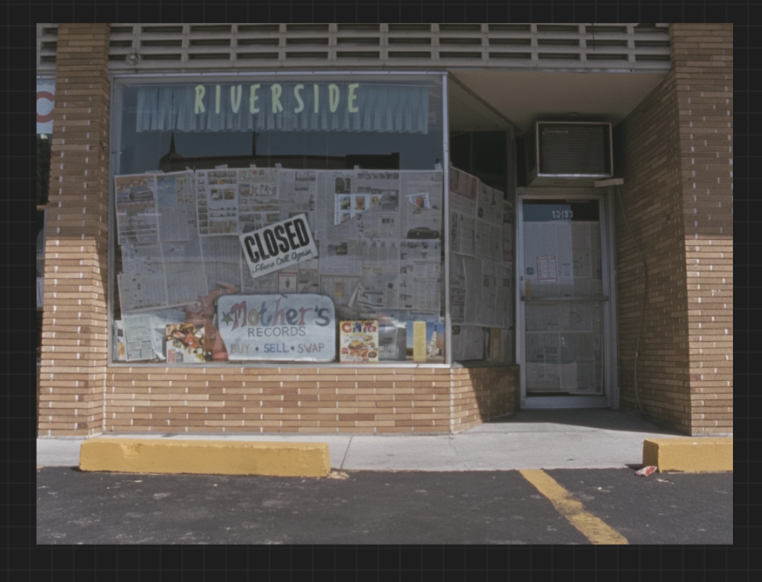
After generating, you can confirm that unnecessary parts have been removed.
3. Apply the Modified Background to the Global Node
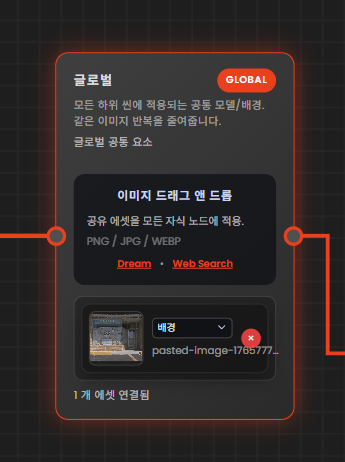
Once the background modification is complete, simply copy it with Ctrl + C, select the Global node, and paste it with Ctrl + V to apply it.
The Global background set in this way will act as the standard environment for the entire lookbook images generated thereafter.
Key Points of the Background Setting Stage
The background is not an image for a single cut but a standard environment for the entire lookbook.
The more unnecessary elements are organized initially, the fewer variables there will be in subsequent work.
By fixing the background through the Global node, you can ensure consistency throughout the lookbook series.
Step 2. Using Quel Assistant to Specify Model and Scene Prompts
Once the background setting is complete, the next step is to define the core model and scene conditions of the lookbook in language.
This process is not just about entering prompts but is an important design stage that determines the consistency and completeness of the lookbook results.
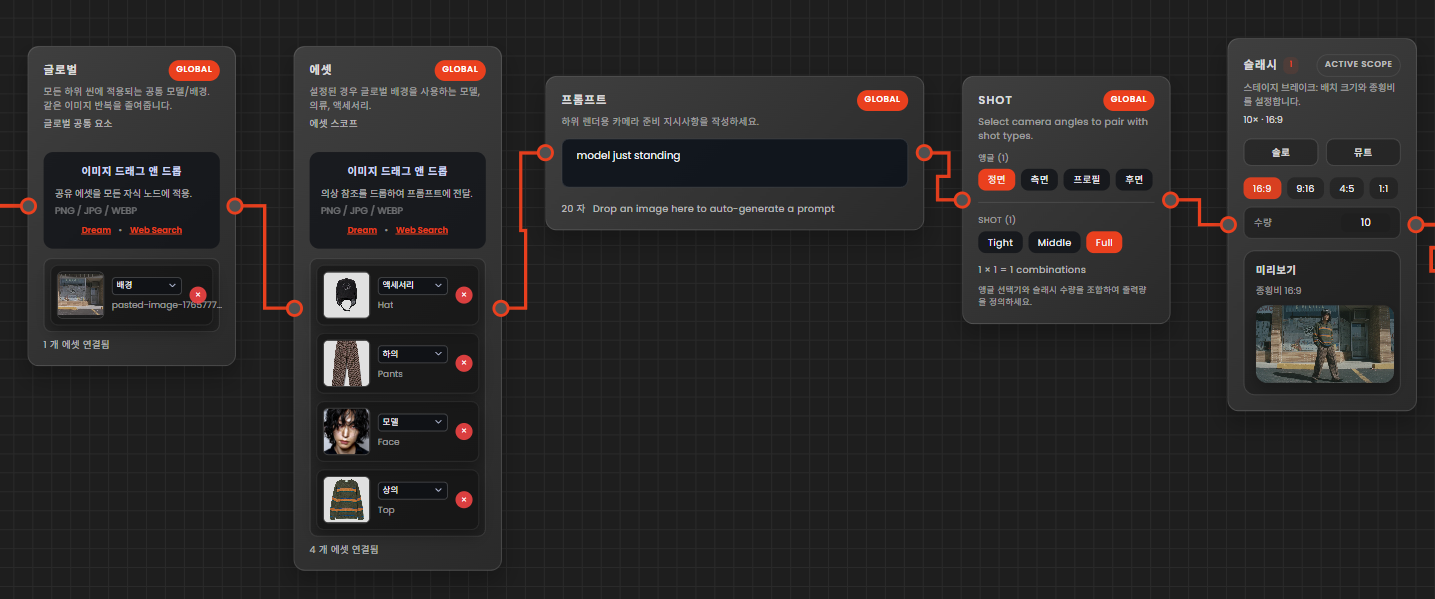
Prompt: model just standing
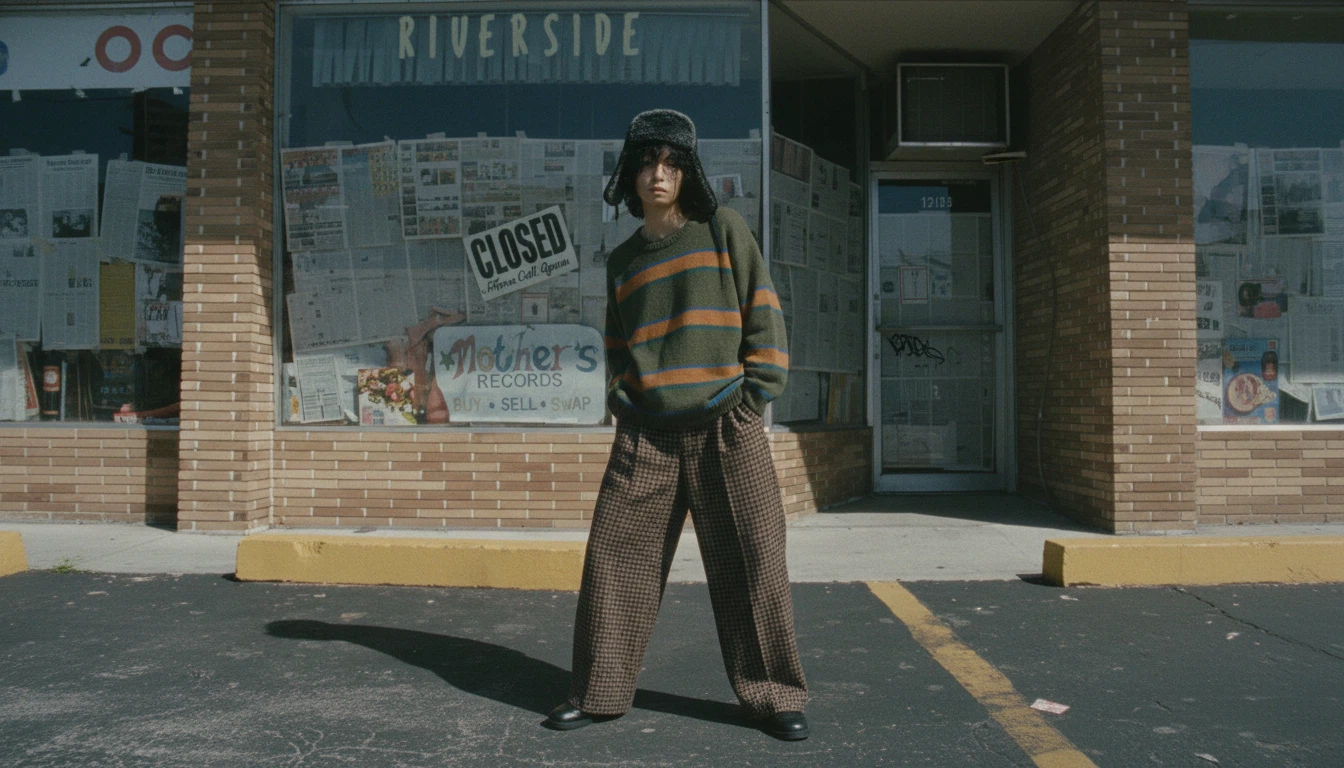
If the composition of the scene or the profile of the model is not specifically defined, it may be difficult to achieve the desired outcome.
1. Define Model Profile
Through a conversation with Quel Assistant, specifically set the basic profile of the model.
It is advisable to clearly define the following elements:
Height
Weight
Body type
Overall silhouette impression
This information acts as a standard value that influences the fit and proportion of the clothing and the overall fashion impression of the lookbook.
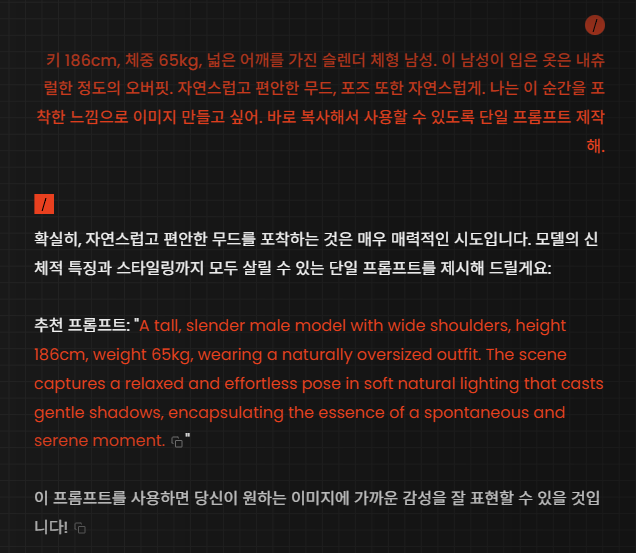
2. Emphasize Global Background Mood
Even if the background is already set in the Global node, if you want to more actively reflect the mood and atmosphere of that background
you can request additional analysis using Quel Assistant.
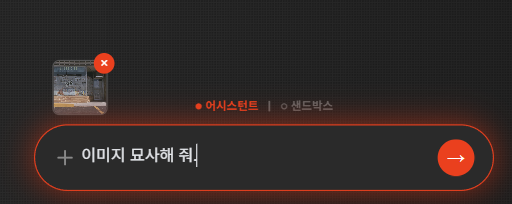
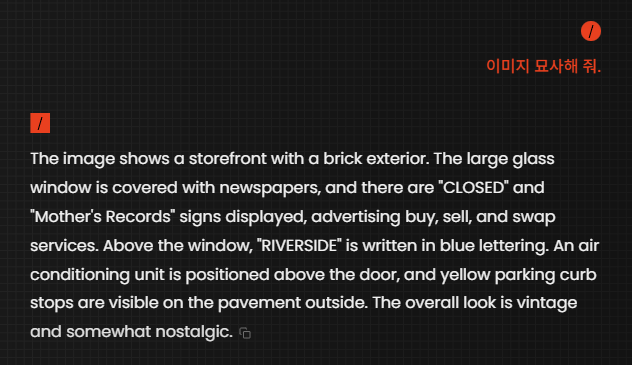
Use the ‘+’ button of Quel Assistant or drag & drop the background image to request image analysis.
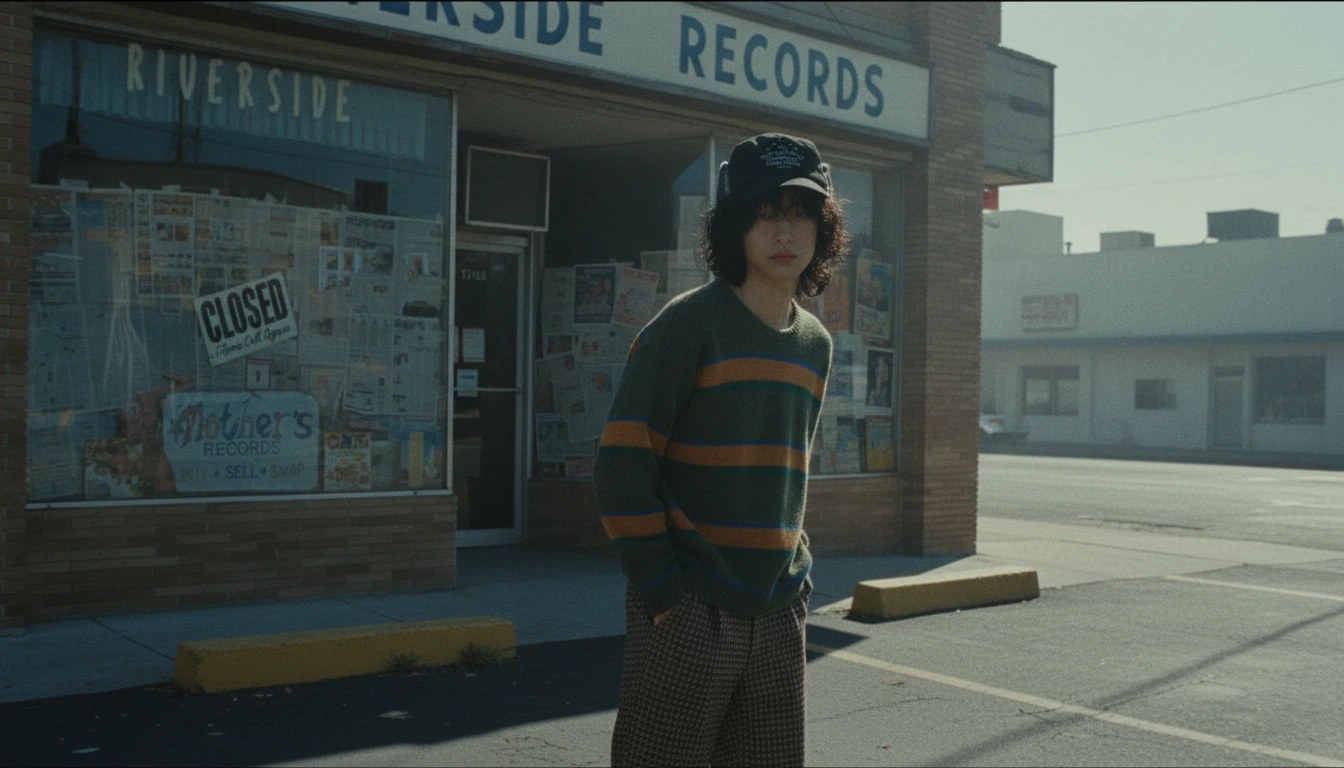
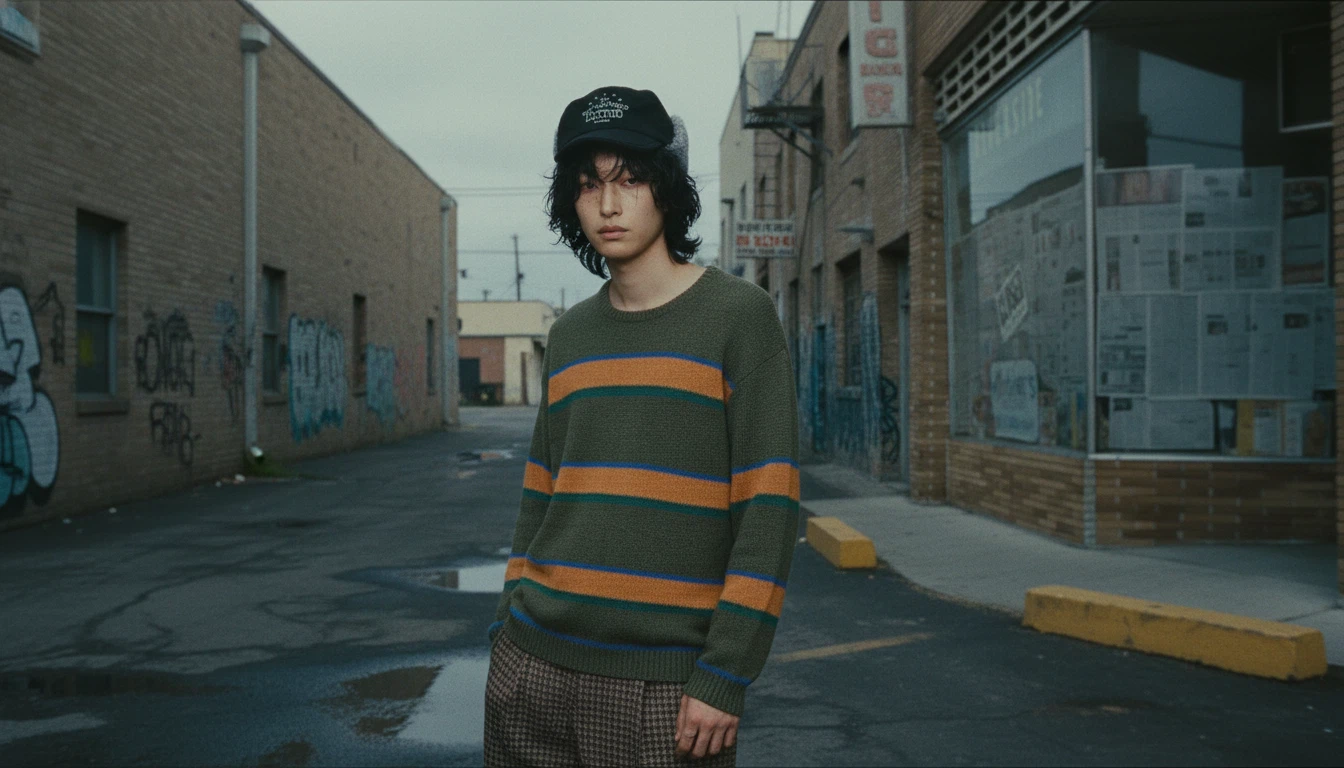
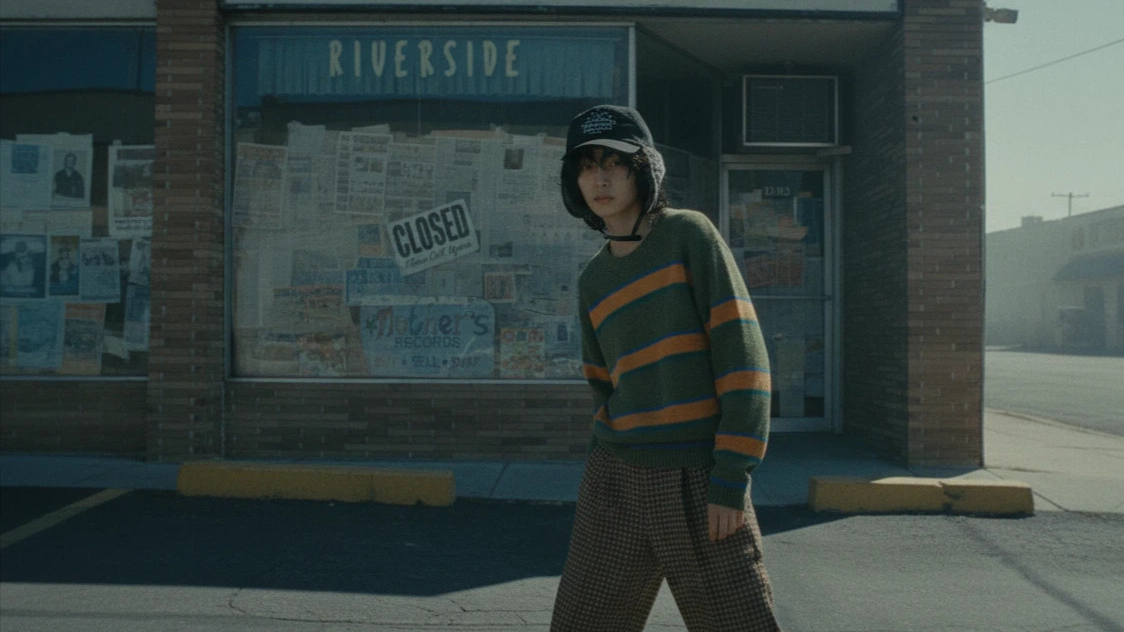
This allows the lighting, color, and spatial sense of the background to be more clearly reflected in the prompt.
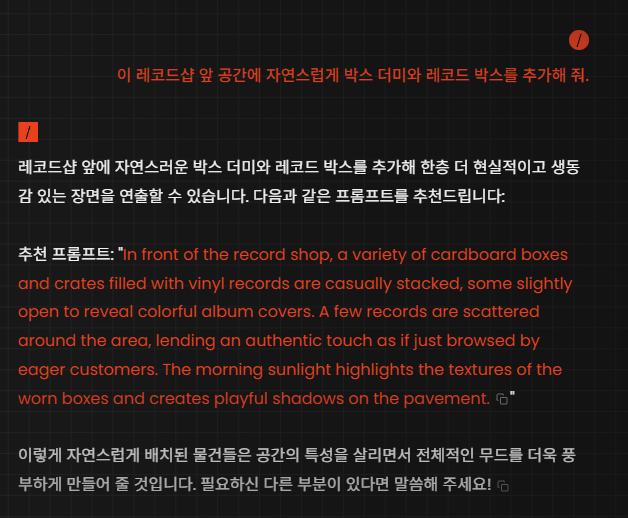
3. Creation of New Elements
If you want to add elements that are not in the existing assets, you can directly request them through a chat with Quel Assistant.
For example:
Add new structures to the background
Create specific moods or directing elements
Enhance environmental details that match the lookbook concept
This process should be understood as a design stage that expands the scene itself, not just a simple supplement.
4. Confirm Prompt and Render
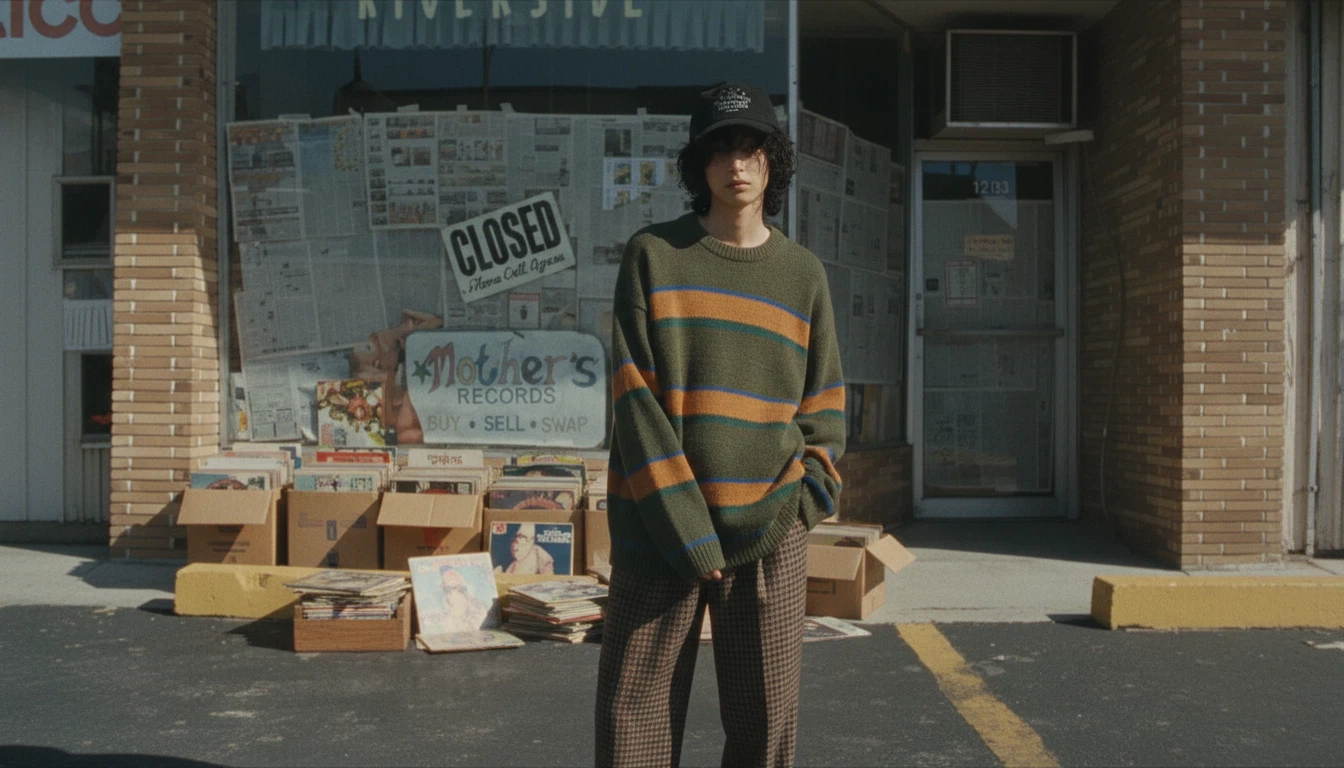
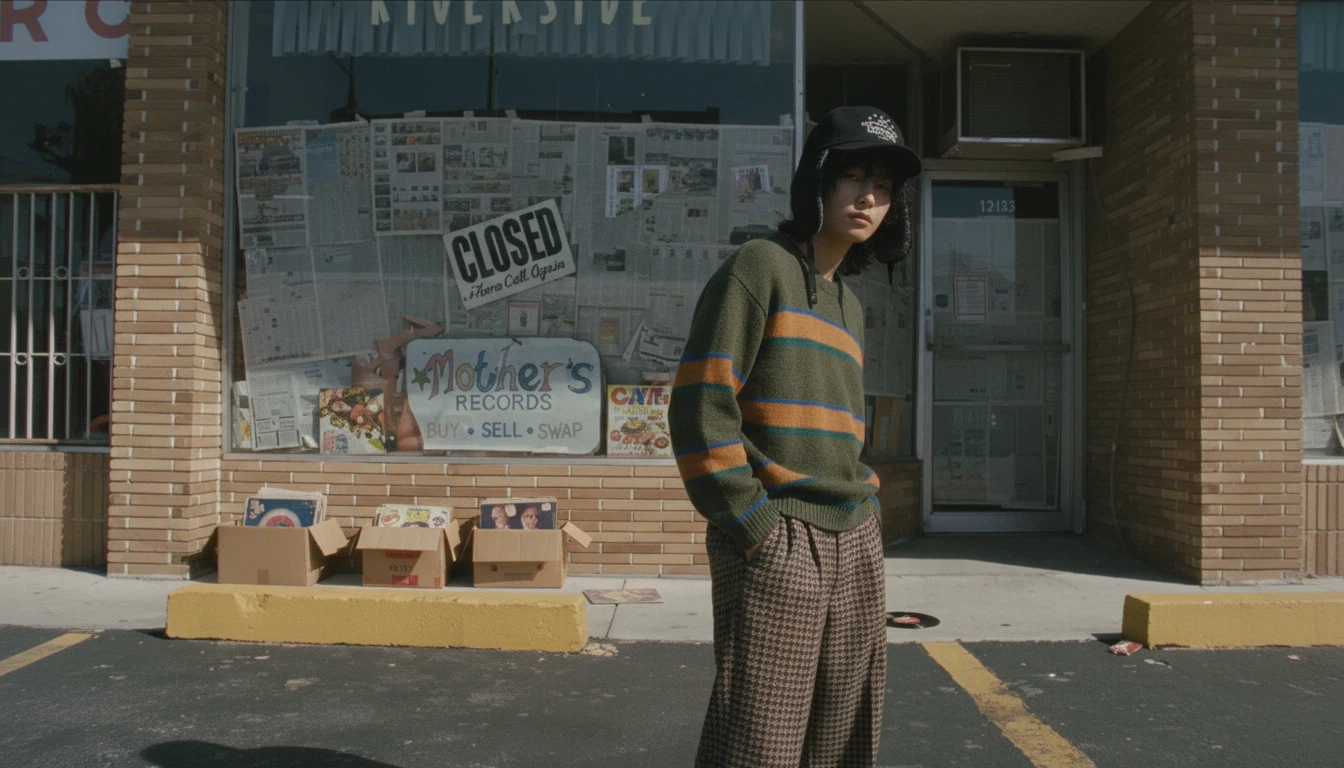
Once the conditions for the model, background, and scene are all organized, confirm the completed prompt and proceed with rendering.
At this point, the prompt acts not as a sentence for generating a single image, but as a standard setting that permeates the entire lookbook series.
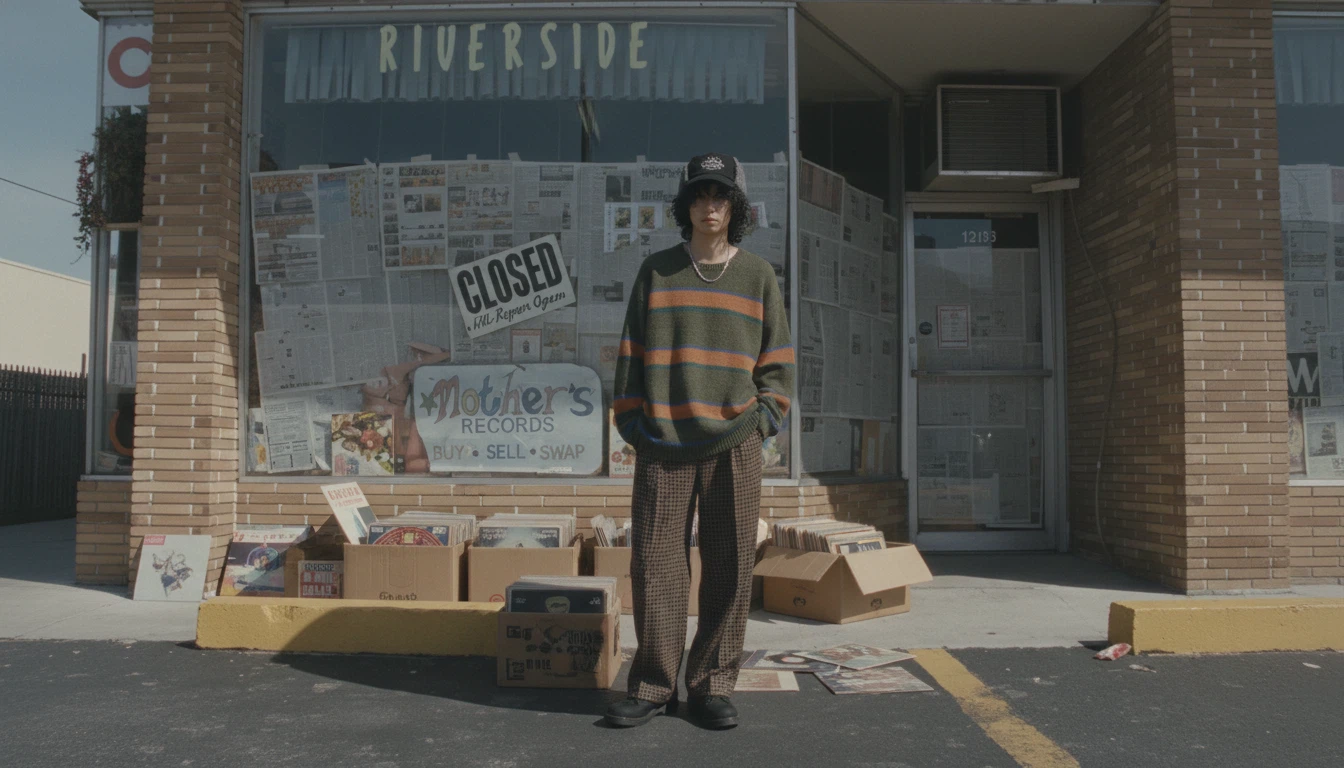
Step 3. Image Selection and 360-Degree Rotation Image Creation
Once rendering is complete, the next step is to select the images to use in the lookbook and create 360-degree rotation images based on the selected cuts.
This step plays an important role in delivering the structure and silhouette of the look in a three-dimensional way.
1. Image Selection for Lookbook
Select the image that best fits the lookbook criteria from the render results. The selected image is moved by dragging & dropping into Creative Studio.
You can use either of the following two methods to move the image:
Drag & drop directly from the render preview screen
Download the image from the archive and then drag & drop
There is no difference in the result regardless of which method is used.
2. Create 360-Degree Rotation Image
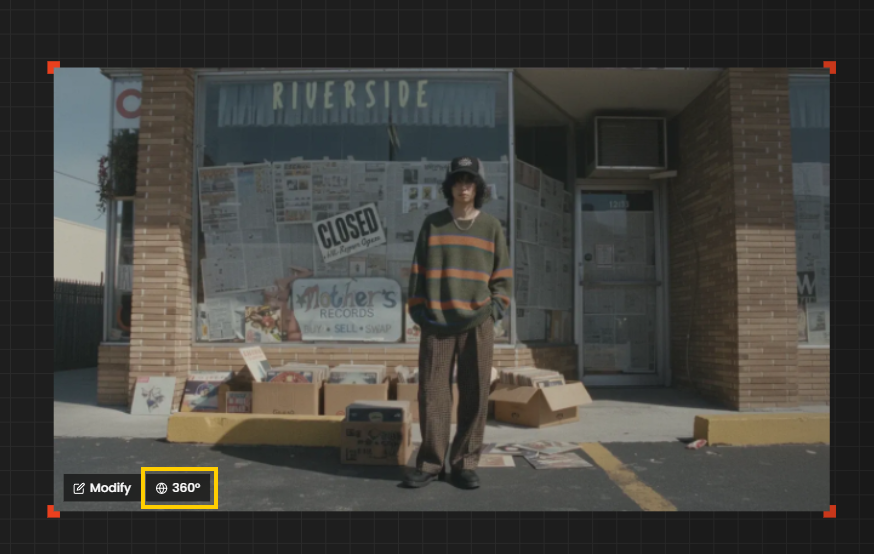
Once the image is input into Creative Studio, click the 360 button located at the bottom left of the image.
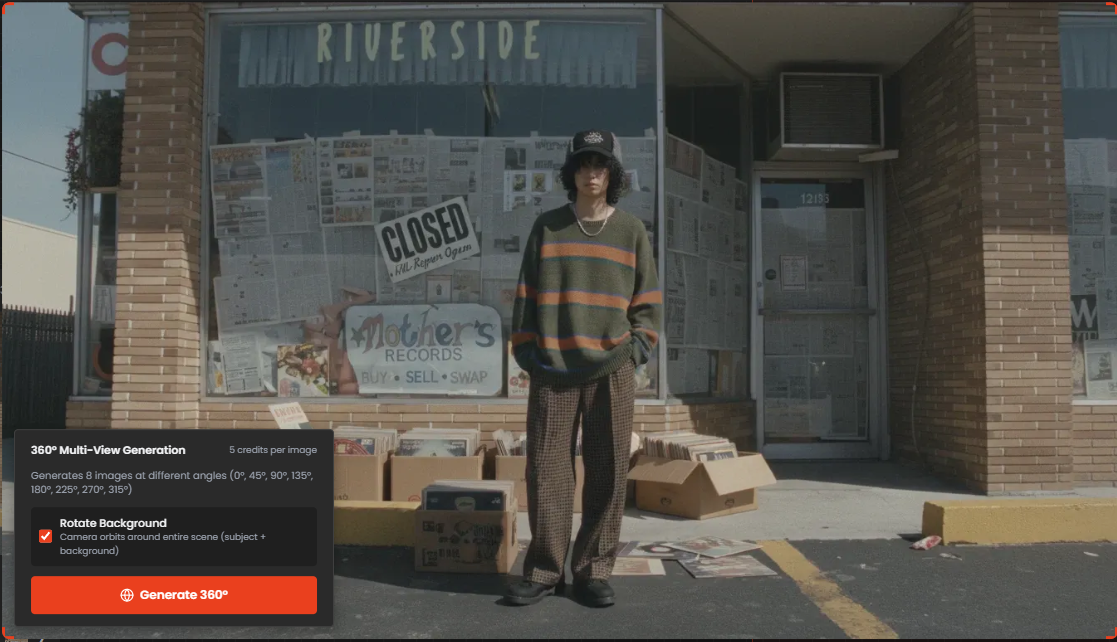
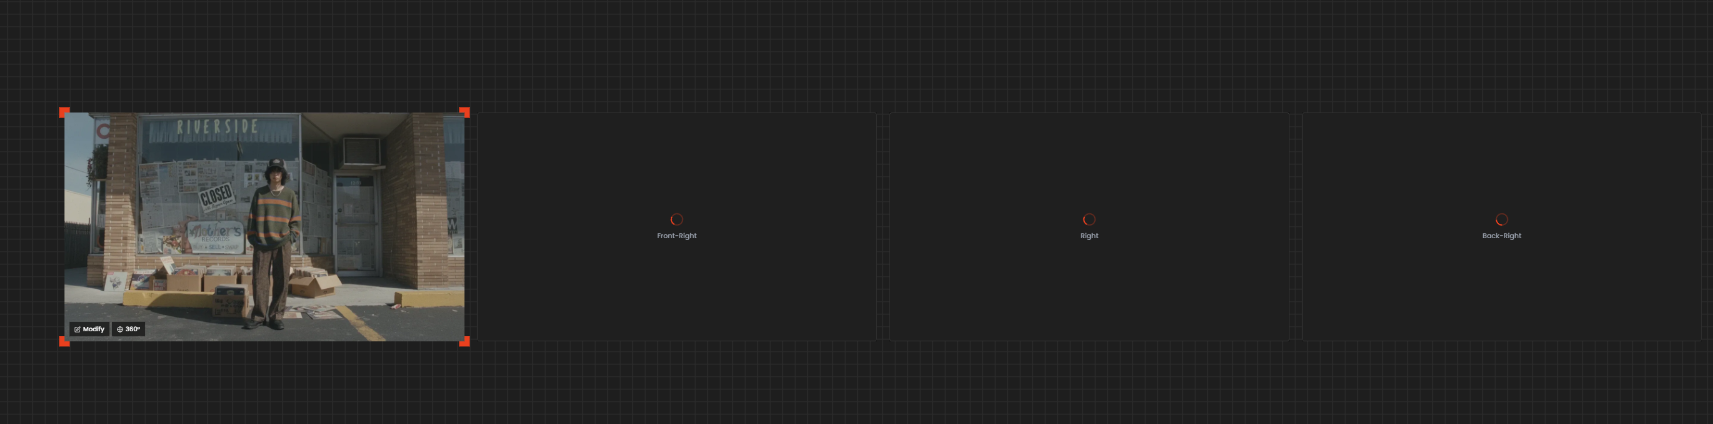
This automatically generates an image where the model and clothing rotate 360 degrees based on the selected cut.
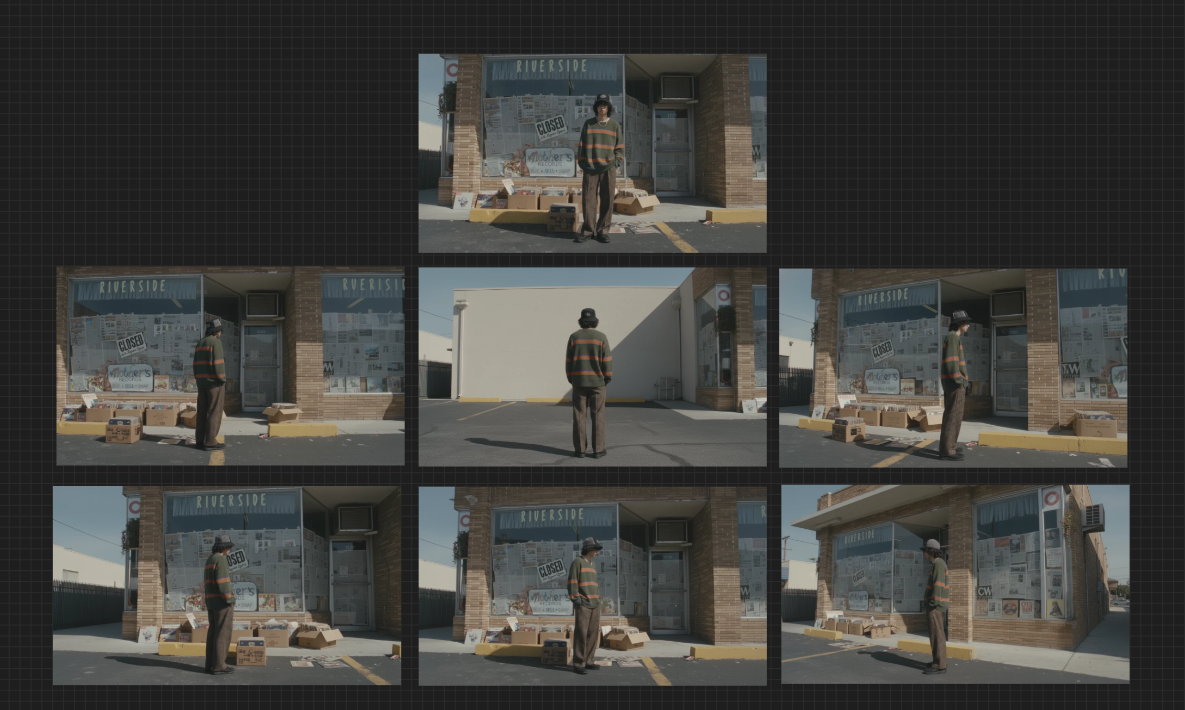
This feature naturally shows the front, back, and sides of the look, enabling three-dimensional product understanding beyond simple lookbook cuts.